Wall Cladding Installation Guide
Cladco composite wall cladding has been designed for beauty and ease of installation, it is not intended to be used as columns, support posts, beams or as other primary load-bearing members. Before installing it is advised to unpack the wall cladding boards for 48 hours to allow them to adapt to ambient temperature conditions.
Always stack the boards on a flat surface. It is not recommended to install Cladco wall cladding boards in very cold temperatures. Cladco composite wall cladding boards are more flexible than hardwood boards, it is important that you get your support structure right in order to prevent problems in the future.
1

It is recommended that the battens used to support your Cladco wall cladding be made from composite material, this helps to maximise the long term performance of your cladding. Alternatively, you can use wooden battens to support your cladding following the same fitting process as you would for composite battens.
2
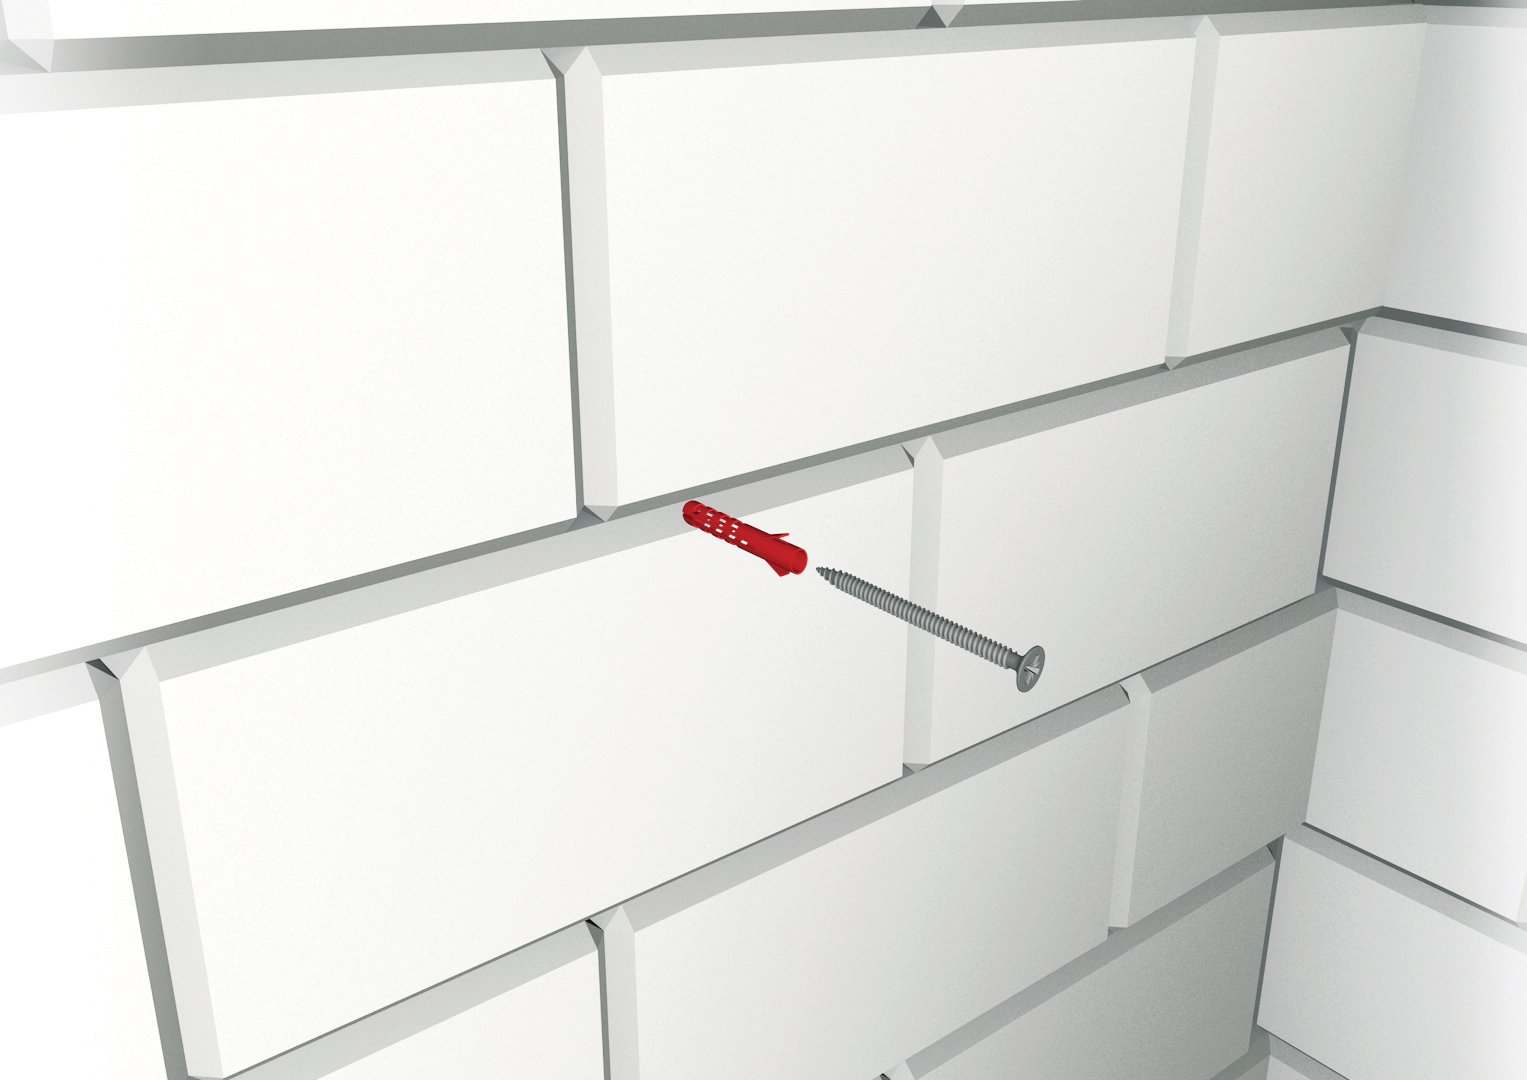
You will need to pre-drill the battens and the surface below using a 6mm drill bit, the battens are 30mm high and you will need to secure them at least 50mm into the surface below. You will need to choose fixings suitable for the surface you are fixing into. Screws should be 5-6mm diameter and at least 80mm long*.
*Cladco do not provide the fixings and screws for your installation.
3
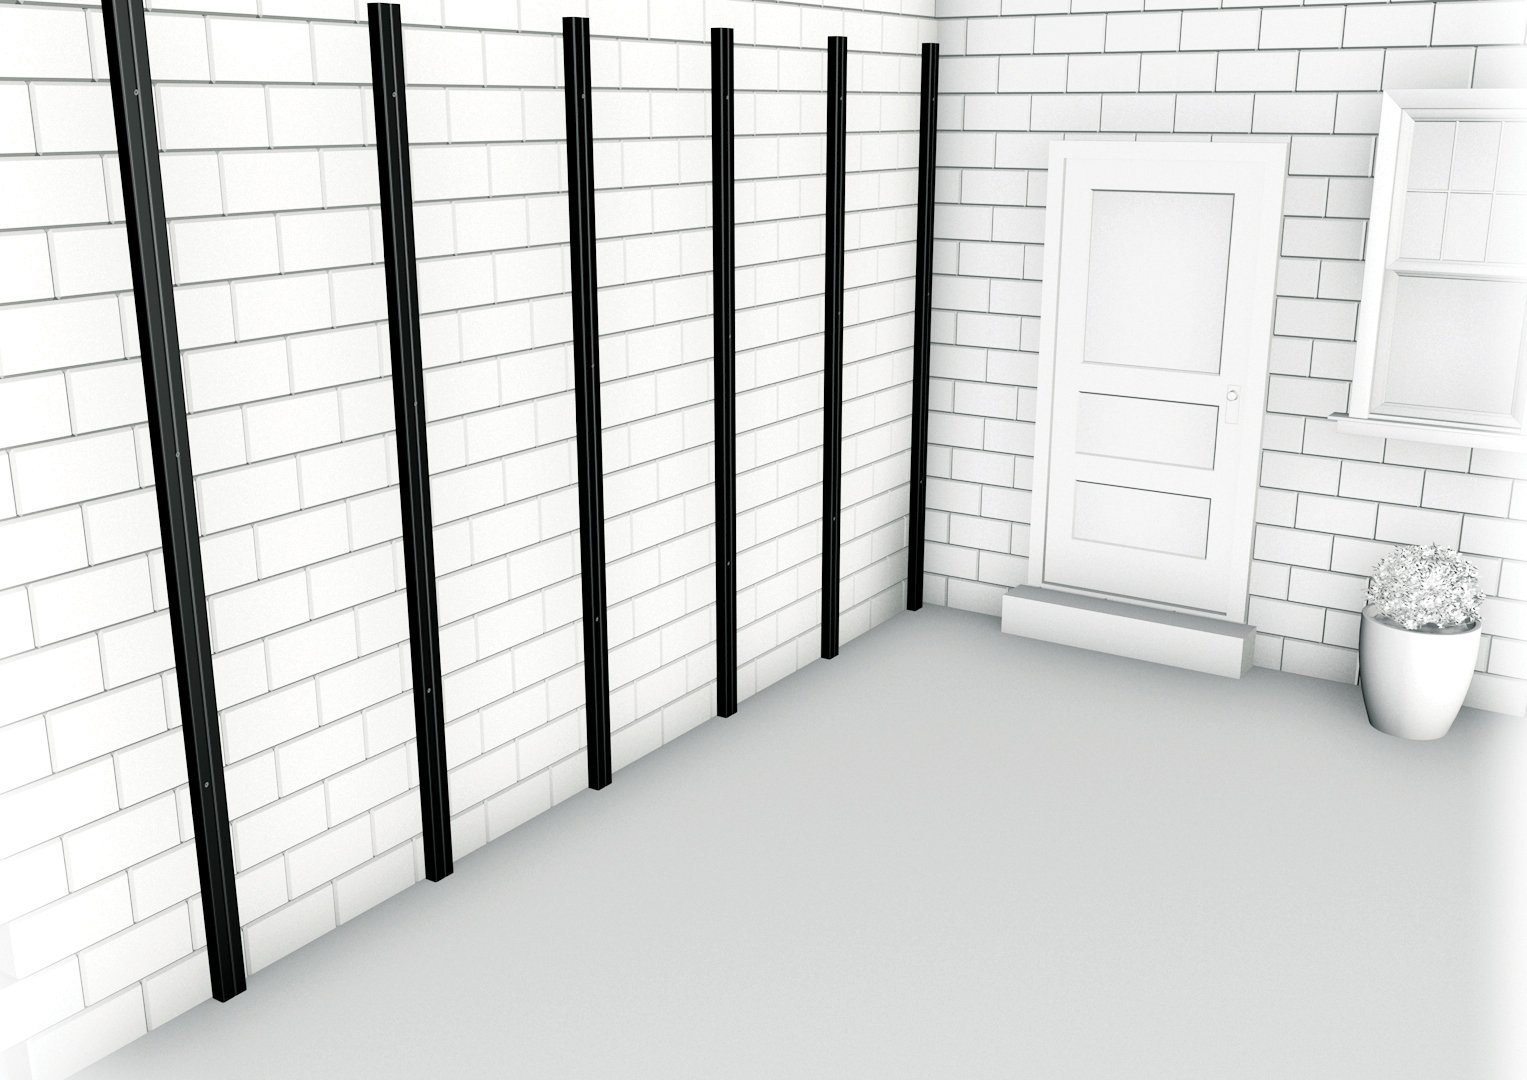
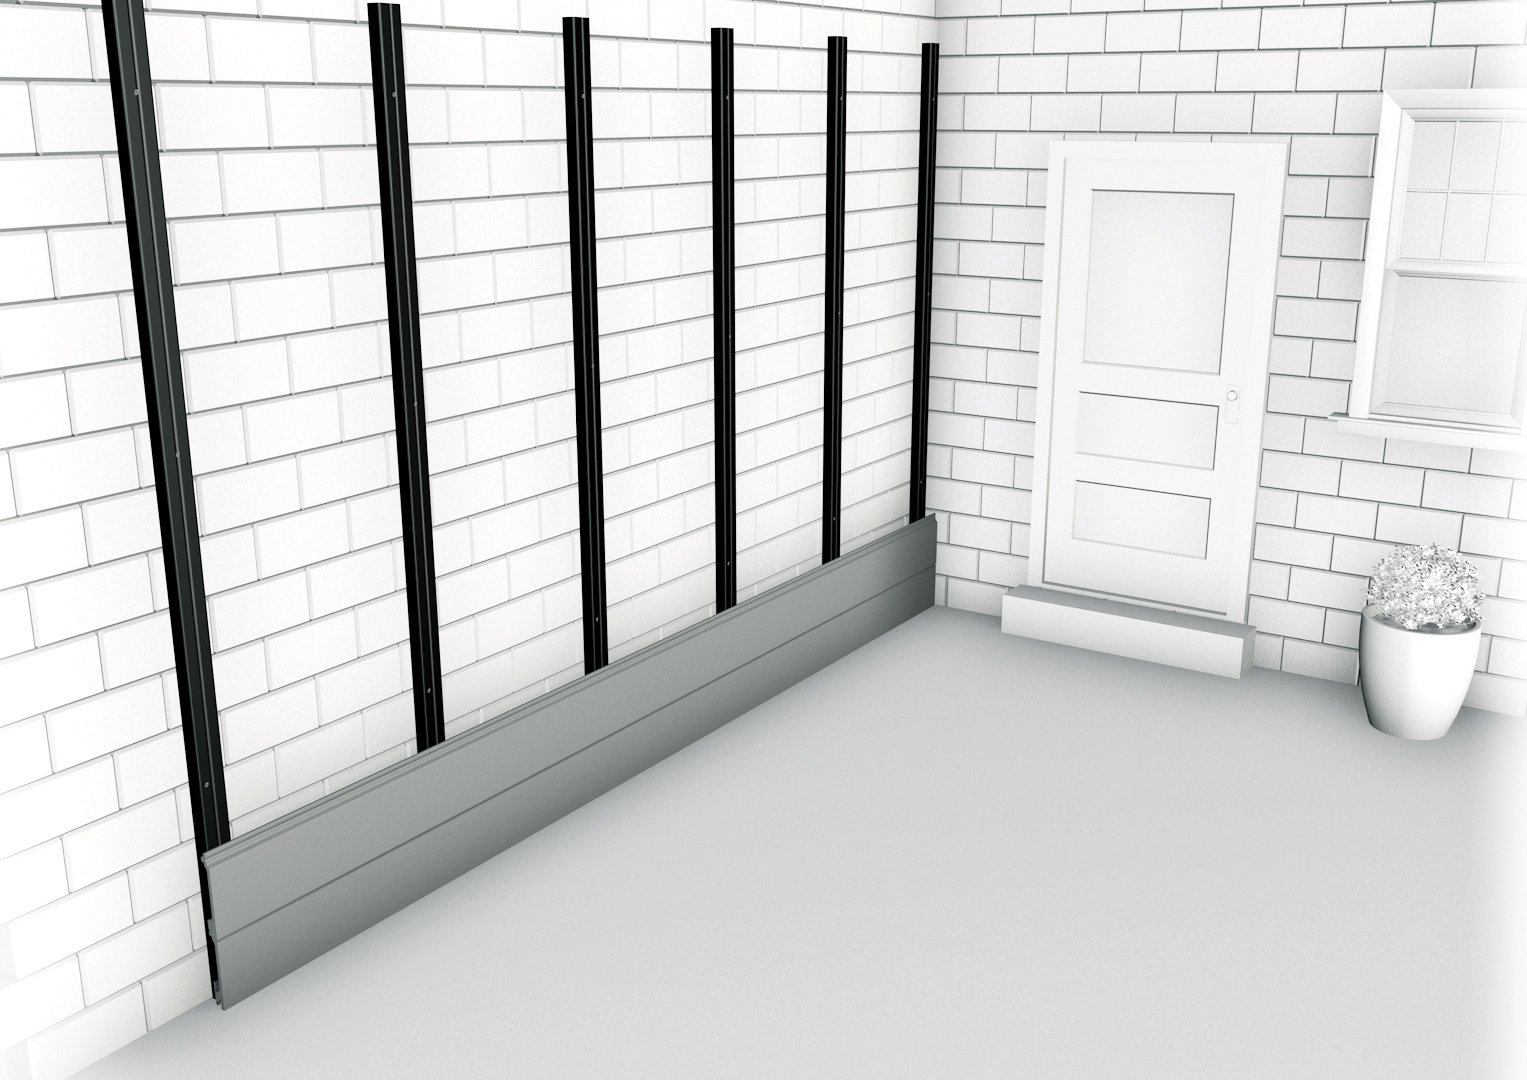
Battens should be attached to the surface at a maximum distance of 500mm apart. The battens will need to run the entire length of the area being clad, adding in additional battens at any point where you will need to join 2 cladding boards end to end. Remember to install your battens at a 90 degree angle to the way that you want your wall cladding boards to run. Battens should be 50mm wide x 30mm high and should be fully supported once installed, it is important that the surface below the battens is flat and stable.
4
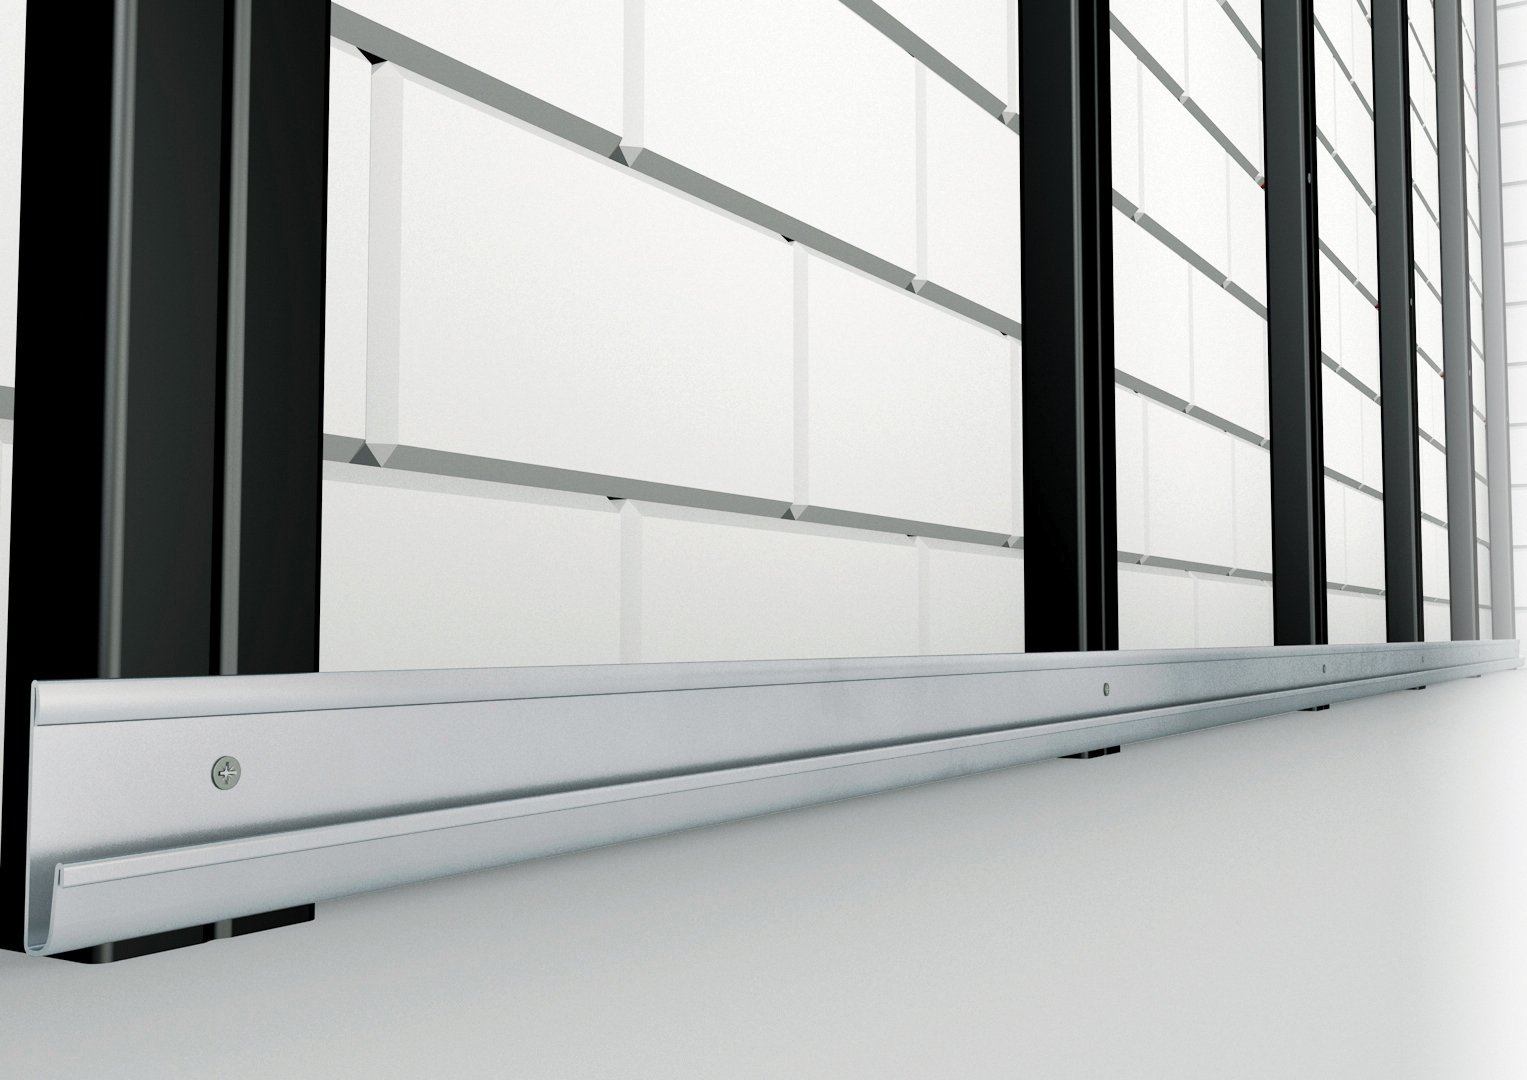
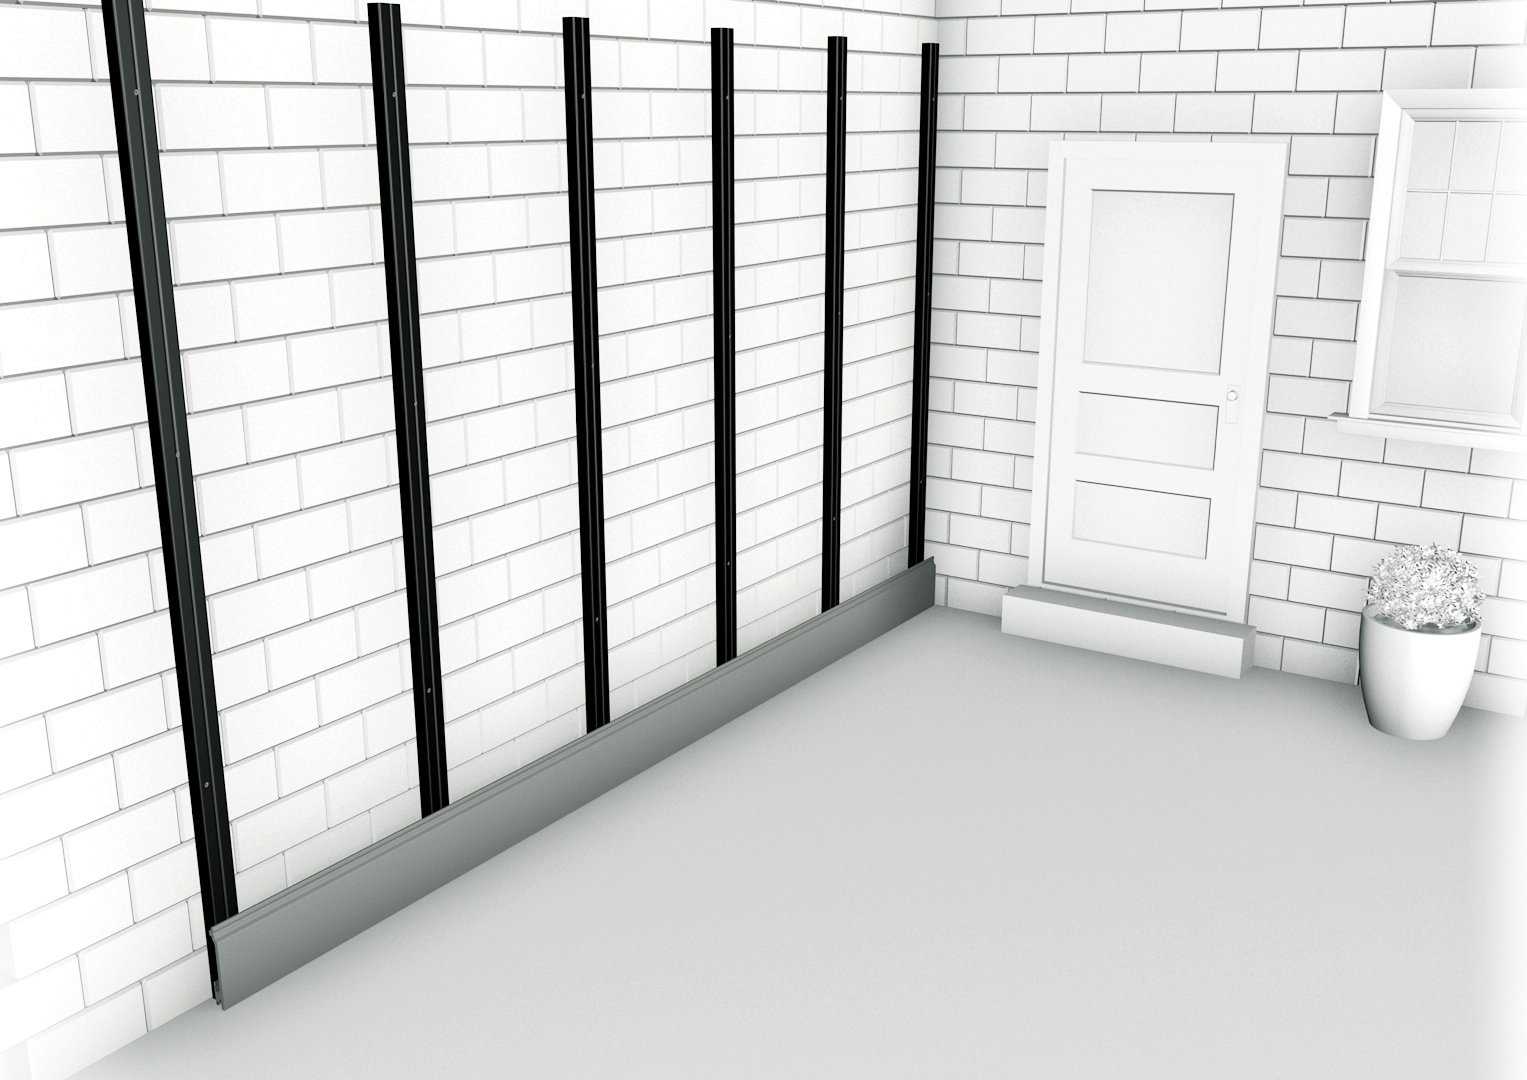
Attach a starter strip to the bottom of each joist, this will give the first cladding board something to sit on. You will need to pre-drill a pilot hole into the composite batten and attach the starter strip using a screw that is at least 15mm long. Ensure that each strip is level with the next and that the first board sits level on the strips before continuing to the next step. Place the first wall cladding board on to the starter strips. Mark and then pre-drill pilot holes through the fixing groove of the board into the composite batten below.
5
Secure the boards using a screw at least 30mm in length, ensuring that the board is fastened securely on each joist that it touches. Secure these fixings by hand, is important not to over-tighten the screws and risk splitting the board.
6
Ensure that the section between the joists remains empty allowing air to flow beneath the boards. Slot the second board onto the first and repeat the fixing process ensuring that the second board is fitted securely in place on each joist. Repeat this process with each board until you reach the required height.
7
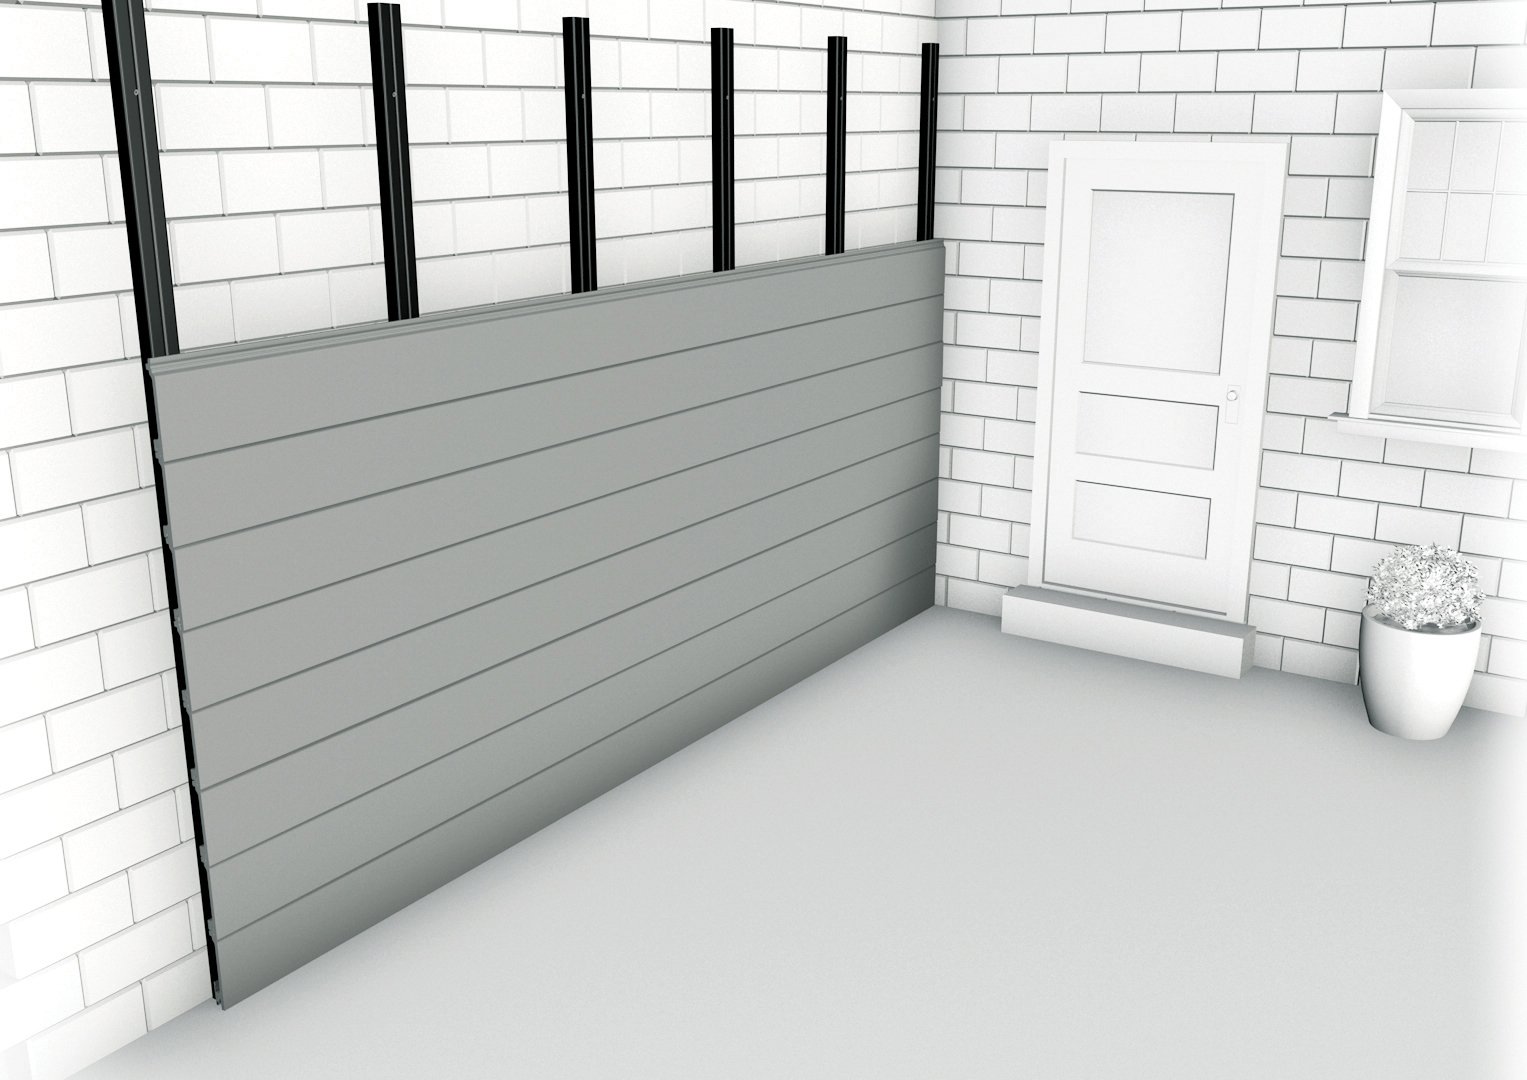
Continuing to fit the cladding boards in this manner until you have completely covered the area you want. It is possible to fit your boards side by side in a brickwork pattern. You may need to install more battens if you wish to do this as each board will need to be supported on a joist where it meets the next board.
8
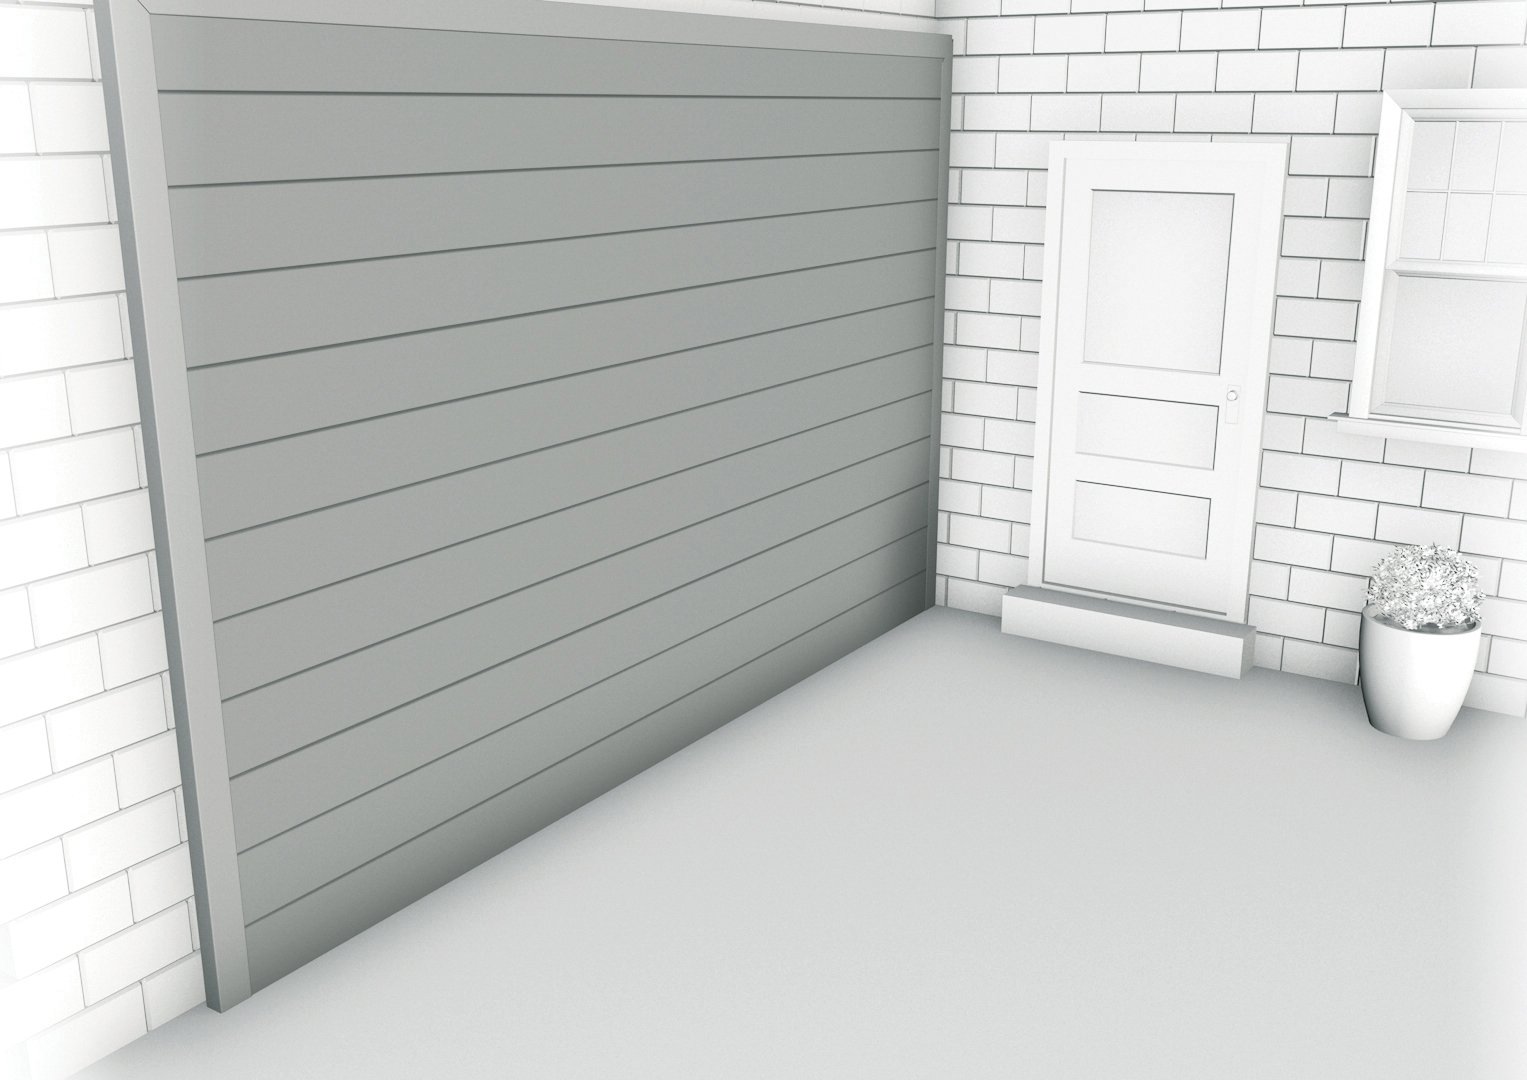
Depending on your installation, you may want to finish off the edges using one of the trims Cladco can provide to give you a lasting professional look. There are a range of trims available in all colours to compliment your cladding boards and these can be secured to your installation by screwing through the trim into the joist below every 300mm. Do not screw through wall cladding boards. Alternatively, if it is not possible to fix the trim to the joist without screwing through the wall cladding board you can glue them in place using an exterior grade high elastic glue.