When you have completed your Cladco composite decking project, you can sometimes be left with a few decking offcuts and not knowing what to do with them. As part of our environmental sustainability mission we are constantly working on ways to reduce our impact on the environment, in this simple guide you will create your own long life and sustainable planter with off cuts of Cladco composite decking.
To create your composite planter you will need:
• 8 composite decking planks cut to 230mm in length
• 1 base composite decking plank cut to 175mm in length and 120mm width
• 4 composite L corner trims cut to 300mm in length (for outside)
• 2 composite L corner trims, cut to 120mm in length for support inside base.
• Hand saw
• Screw driver
• 32 screws approximately 20mm in length
STEP 1 This step will make the side planks required for your planter, if you would like a larger or smaller planter simply adjust your measurements to suit.
For the side planks, cut the composite decking boards to 230mm lengths. Place two boards together and cut diagonally as shown.
Repeat this step 4 times.

STEP 2: Take your base plank, one side plank and one of the corner L trims (120mm length). Mark and screw together, 4 screws from the inside doing your base first.
Please don’t be concerned if you have small gaps when connecting your sides to your base. These gaps are great for drainage, however ensure they arent too large for soil to fall out. You may wish to use a liner in your planter to help.

STEP 3: Using another composite side plank, place it to the side of your base. This will be fixed using one of your 300mm corner L trims.
Mark and screw together 4 screws on either side starting from the base. (see image below)
NOTE: See diagram to show the short end is on the outside of the long edge.
Corner L trim: Screw loosely as these can be screwed tight at the very end.

STEP 4: Take another composite side plank and connect this by fixing an 300mm corner L trim to the corner first using 4 screws on either side.
Then, take a second 120mm corner L trim to the inner side. Connecting the side plank to the base using 4 screws on either side.

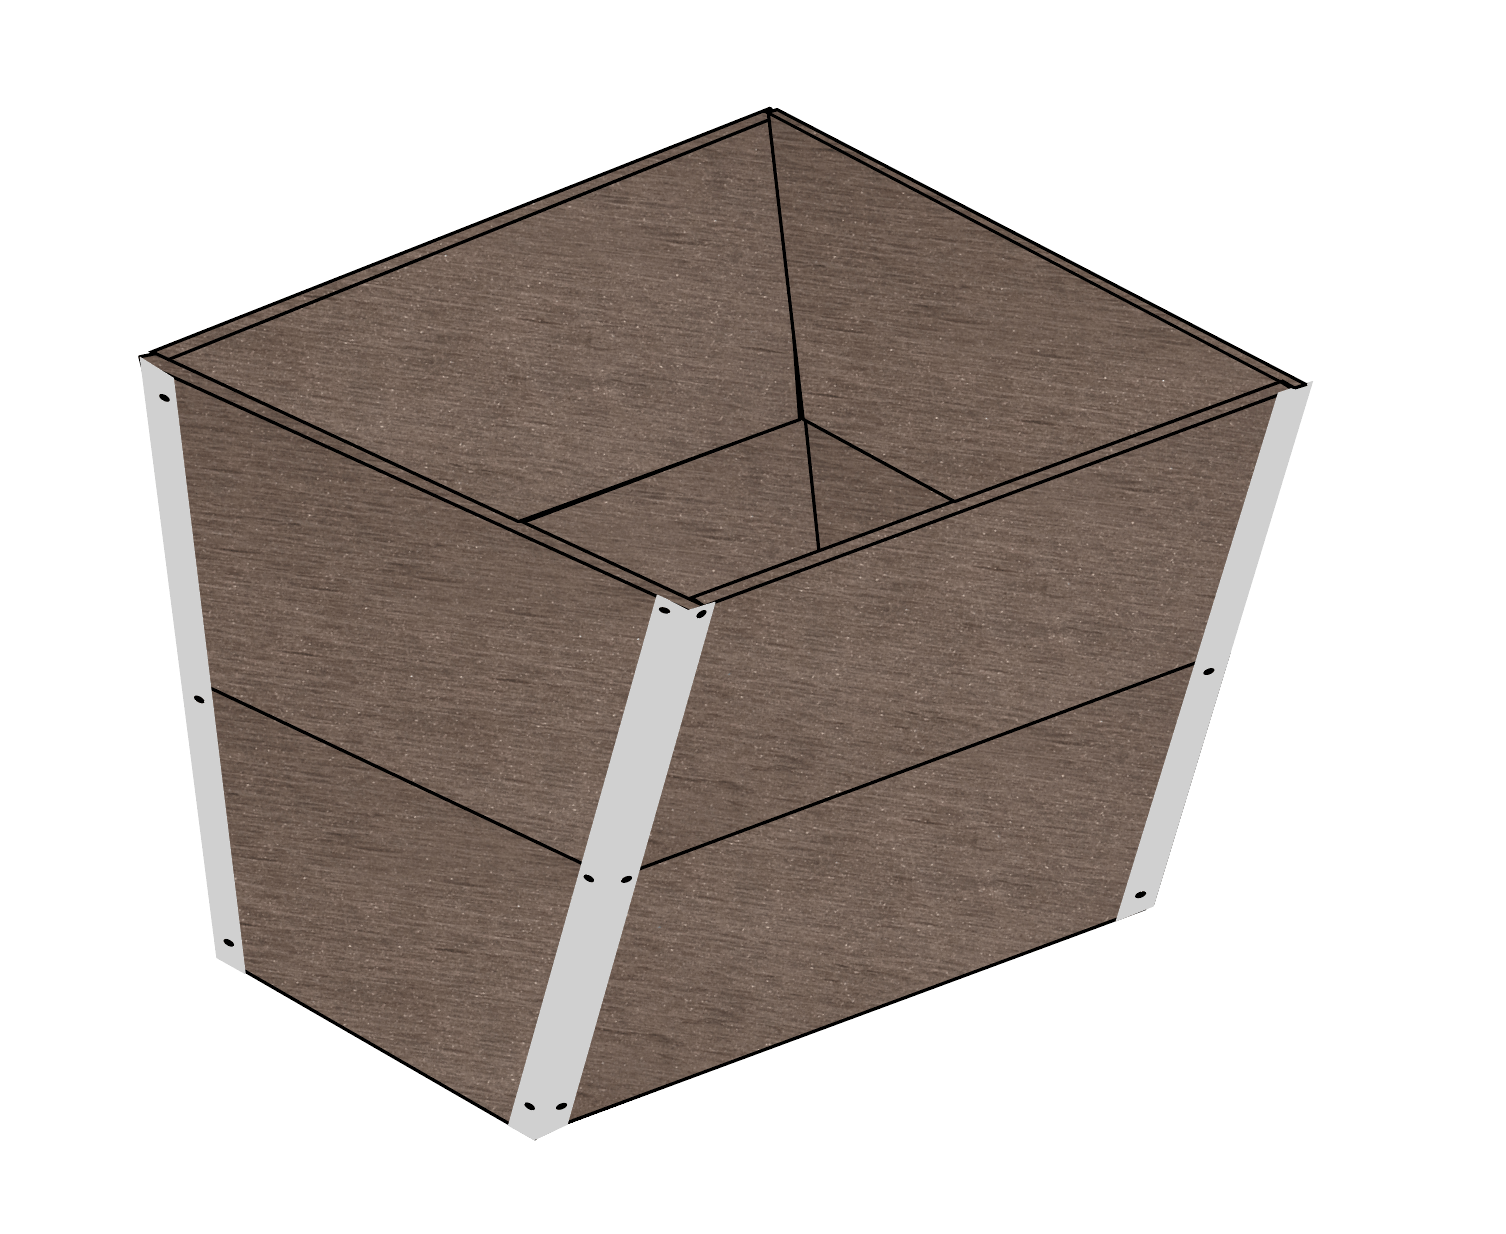
STEP 5: Next fix your final composite side plank using the 2 remaining 300mm corner L trims for the outside corners.
Use 4 screws on each side to hold the side planks together. You can use either matching colour corner trims or contrasting colours for a unique look
We also stock aluminum corner trims to give a contemporary look.

STEP 6: Now you can repeat this step and fix your final compoiste planks. Starting with the end you are on, loosely screw these in place first, before slotting and screwing the final two planks.
Once assembled screw all the screws nice and tight.
NOTE: Don’t forget to drill holes in the bottom to allow for drainage. As above you may wish to line this planter before adding soil and plants, this will prevent any soil splilling out from any gaps.

Please note this is a guide only and you may need to adjust the measurements of the planter to suit your requirements. Planters can be made in all shapes and sizes and can be made to any colour you like.
We would love to see your creations, send them to us via email at [email protected] or use the hashtag #cladcorecycled on instagram.
To download a print version of this guide, please click here