Garden Decking is left to battle the elements 24/7, 365 days of the year. It has to endure rain, snow, sun, organic debris, heavy footfall and more. Every spring as the weather gets warmer you want to start enjoying your Deck again. However, often it's looking a little old and tired after the winter season. In most cases, all your Deck will need is some tender love and care, and it will be looking like a brand new deck again in no time.
This article will explain the stages of repainting your old Deck to help make it look good as new!

Article Contents
- Recommended Tools & Materials
- What Decks Can I Paint
- Painting a Deck: Preparing your Deck for painting
- Choosing Your Deck Paint
- How Much Paint Should I Buy?
RECOMMENDED TOOLS & MATERIALS
Before you get stuck in your repainting project, it is important to ensure you have the correct tools at your disposal.
- Pressure Washer (garden hose will suffice) - This is used to pressure wash any stuck-on dirt, old varnish, and debris.
- Brush - To sweep away debris and brush away dirt.
- Cleaning product/dish soap - Decking Cleaner can cut through dirt, grease, and stains.
- Deck Paints - in your chosen colour, ensuring that your paint is designed for outdoor use on timber.
- Paint Brushes - Two sizes, one for small and hard to reach places and one to outline the Decking area
- Paint in choice of colour
- Decking oil (optional) - Decking Oil penetrates the timber, waterproofing and replacing some of the natural properties found in timber decking.
- Sander/sandpaper - for help removing any old paint or stain
- Painters Tape
- Roller
- Varnish / Stain - Deck Stains offer complete coverage of your Decking Board. However, the Stain coat provides a thinner range than paint, allowing the natural wood grain effect of the Boards to show through the stainer.
- Clothing that you do not mind getting ruined
This is not a definitive list, but having these tools may help you when it comes to repainting a deck.
WHAT DECKS CAN I PAINT
CAN I PAINT COMPOSITE DECKING?
Composite decking should not require painting. Cladco Composite Decking Boards are available in a range of eight colours. Thanks to the Boards, UV resistance, stain resistance, and low-absorption rate, Composite Decking Boards shouldn't require repainting.
However, if you wish to change the appearance of your composite decking boards surfaces, then the boards can be painted. But, the part wood and part plastic makeup of the board, along with its low-absorption properties, means that paints may not provide a smooth cover on the deck.
We do not recommend painting over Cladco Composite Decking Boards.
CAN I PAINT PVC DECKING?
One of the key selling points and benefits of Cladco Nordeck PVC Decking Boards, and other PVC decking boards on the market, is that the boards come in various colours and do not require painting or maintaining. Most PVC decking boards are finished with a layer of vinyl, creating an attractive smooth surface, which is also impossible to paint.
If you were to try and paint a PVC decking board, the paint might just flake or scratch off.
PVC decking board colours have a long life and shouldn't fade or require much additional maintenance like repainting or adding stains or vanishes to them.
CAN I PAINT TIMBER DECKING?
You can paint timber decking. Painting a deck over old paint is possible with the correct paint.
Painting or repainting a deck is a laborious task, but once complete can transform the look of your Deck while also giving the additional wood protection.
This article will explain how to paint decks, the best way to paint Decking, and painting an old deck.
PAINTING A DECK: PREPARING YOUR DECK FOR PAINTING.
Before moving onto the steps below, it is important first to survey your Deck. If your Deck has only been installed for six months or less, it is too soon to begin treating and painting your wood.
In preparation for painting your Decking, you need a good few dry days to allow your Deck to dry completely. Ensure to plan out when you want to carry out the exterior painting and to check the weather forecast for a run of clear and dry days.
STEP 1: WASHING YOUR DECK
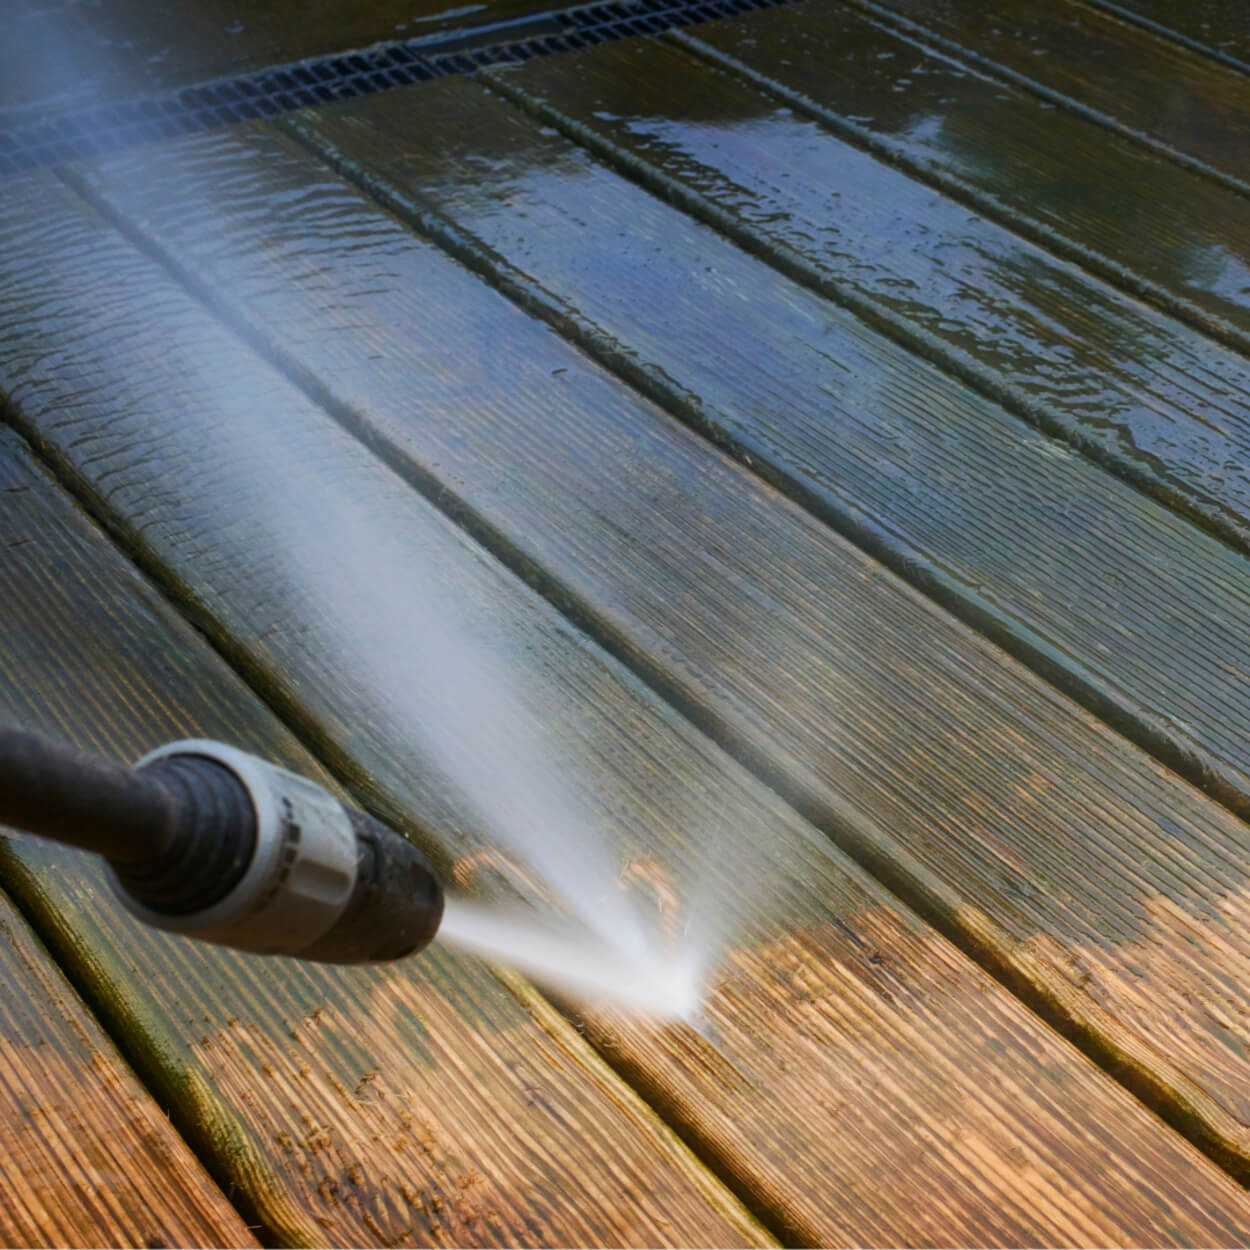
Before you can begin painting your Deck, you must first ensure it is clean. Removing algae, moss and mould can be done with standard dishwashing soap. However, Decking Revier and Cleaner is recommended.
Tools needed for cleaning your timber decking:
- Pressure washer/garden hose
- Decking cleaner
- Dustpan and brush
- Stiff bristled broom
Steps to Clean your Deck:
1) Clear your Decking of any furniture, plant pots, and debris. Whilst sweeping, it is a good time to check for any loose nails or Boards.
2) Generously cover your Decking Boards with water and your choice of cleaner. If you are using a specific Decking Cleaner, be sure to read and follow any instructions that come with it. With your stiff-bristled brush, scrub your decking boards completely clean, removing as many persistent stains, mould, and algae you can.
3) Once you have thoroughly cleaned your Boards, removing as much dirt as possible, with your pressure washer on its lowest setting or normal hose, wash the soap and cleaner away.
4) Repeat the above steps as many times as necessary.
5) Once you are happy with the cleanliness of your Decking Boards, leave the Boards to dry. Make sure your Boards are properly free of moisture.
TOP TIPS: You may want to use a small utensil to clean any built-up dirt between the Decking Board.
You can find an in-depth guide on how to correctly clean your Decking here.
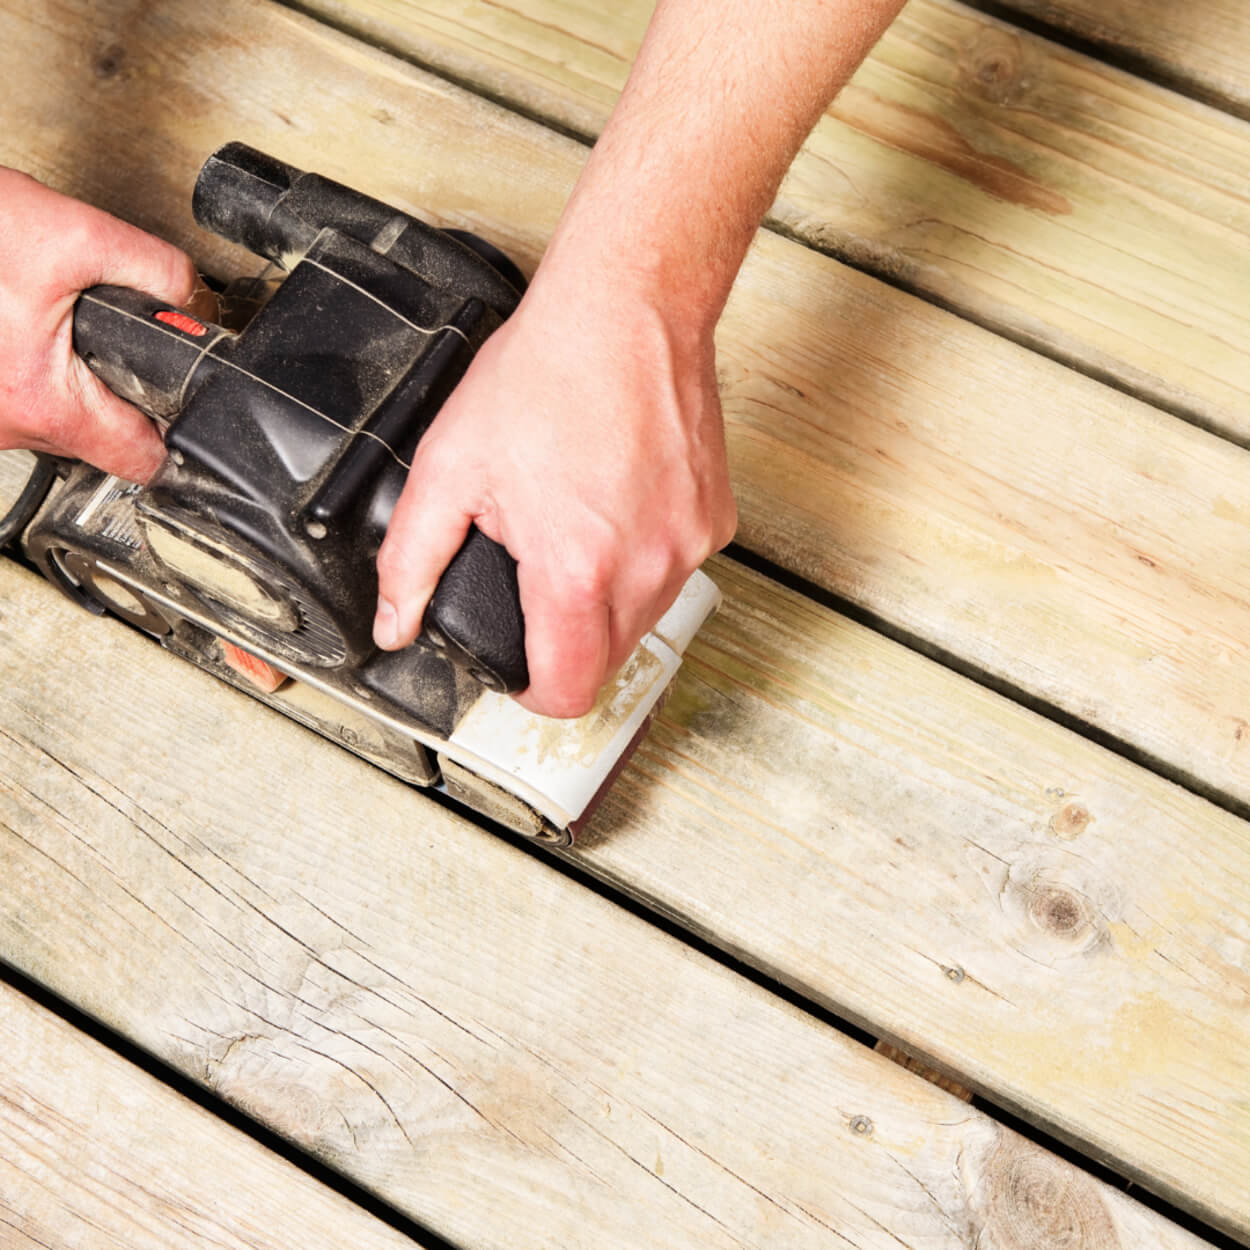
STEP 2: SANDING OR SCRAPING YOUR DECK
Why do you need to sand or scrape a deck before restoring or repainting it? Timber Decking Boards often expand and contract throughout the year due to changes in moisture and temperatures; this can result in wood fibres becoming free, like splinters.
Sanding your Deck is a crucial job before your paint, stain, or varnish your Decking for an attractive and smooth finish.
You can sand your Deck using a power sander or sandpaper sheets, depending on your preference.
Sanding your Decking not only removes any fibres, leftover paint, stain, or varnish but also helps to open up the wood allowing for your coats of paint to soak in.
1) Using your mechanical sander work your way across your Deck Boards, ensuring any painted Boards are coming away with less old paint on than previously.
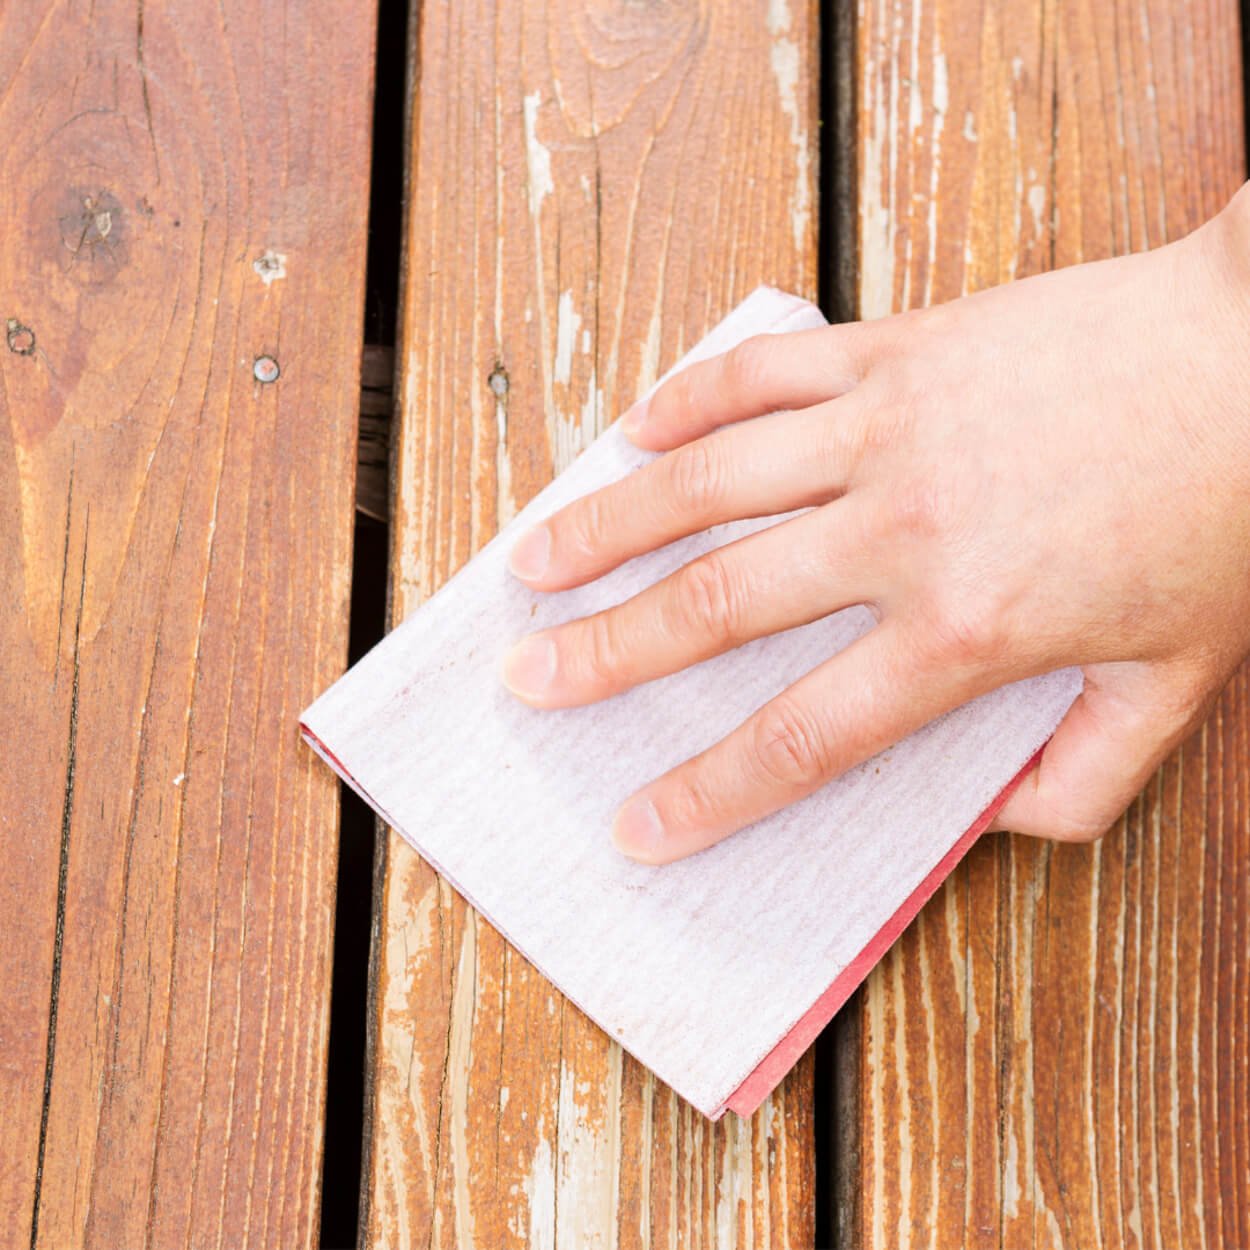
2) With your smaller sandpaper sheets, use the palm of your hand to reach the sides of your Deck and any hard-to-reach spaces. Making sure to include the areas close to the house or edge of the Deck.
3) Once you have successfully sanded down your Deck, use a clean broom or brush to sweep away the old paint and wood fibres.
Top Tips - Always sand in the direction of the grain of your wood.
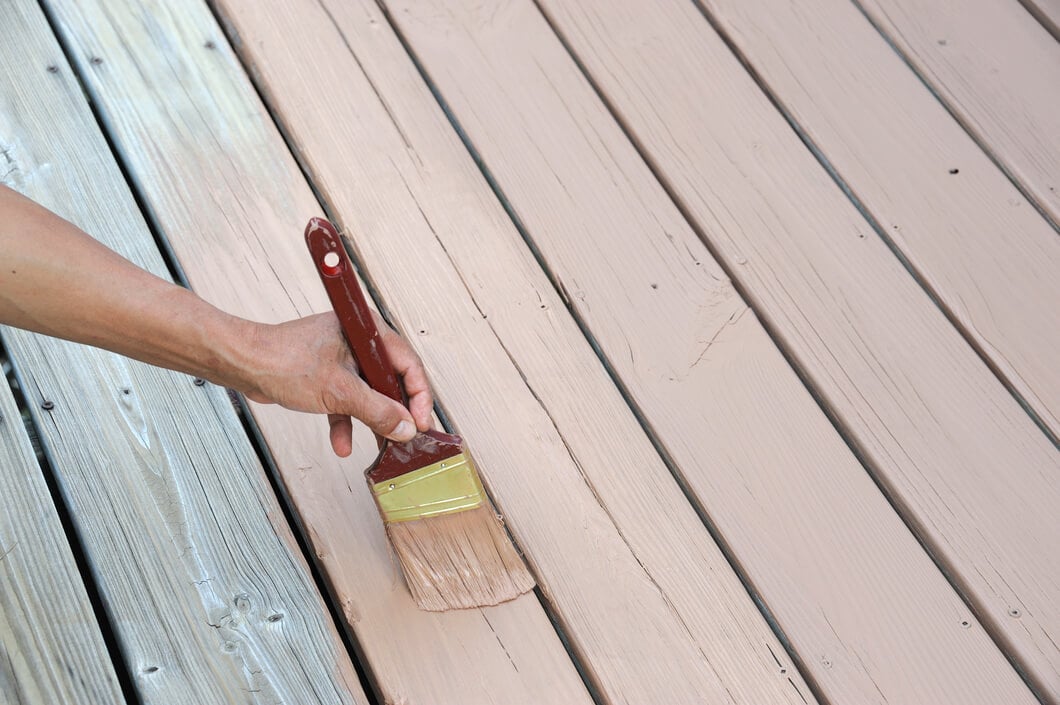
STEP 3: HOW TO PAINT DECKING
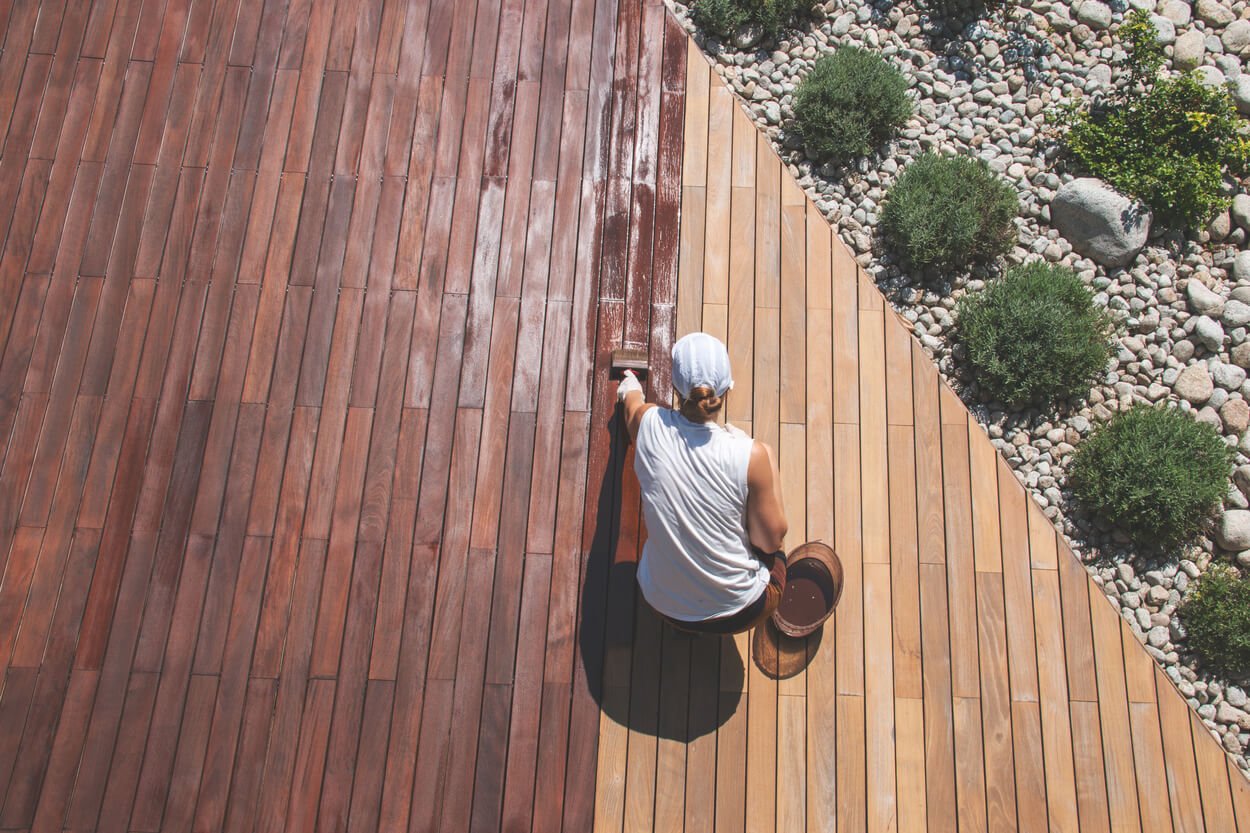
Now that you have cleaned and sanded your Decking, is it time to move on to how to repaint a deck properly with your chosen colour? Paint can be used to transform and protect your existing decking boards. Before you learn how to repaint Deck, first be sure to purchase paint designed for outdoor use to withstand the elements. The following steps will show you how to paint a deck quickly and efficiently.
Step 1:
Before even opening your Decking paint, first be sure to use painter's tape (not masking or any other style of paint) and apply it to the Deck areas against your house or any other buildings of features. If you want some sections of your Deck to be a different colour, you may also want to add painter's tape to those areas.
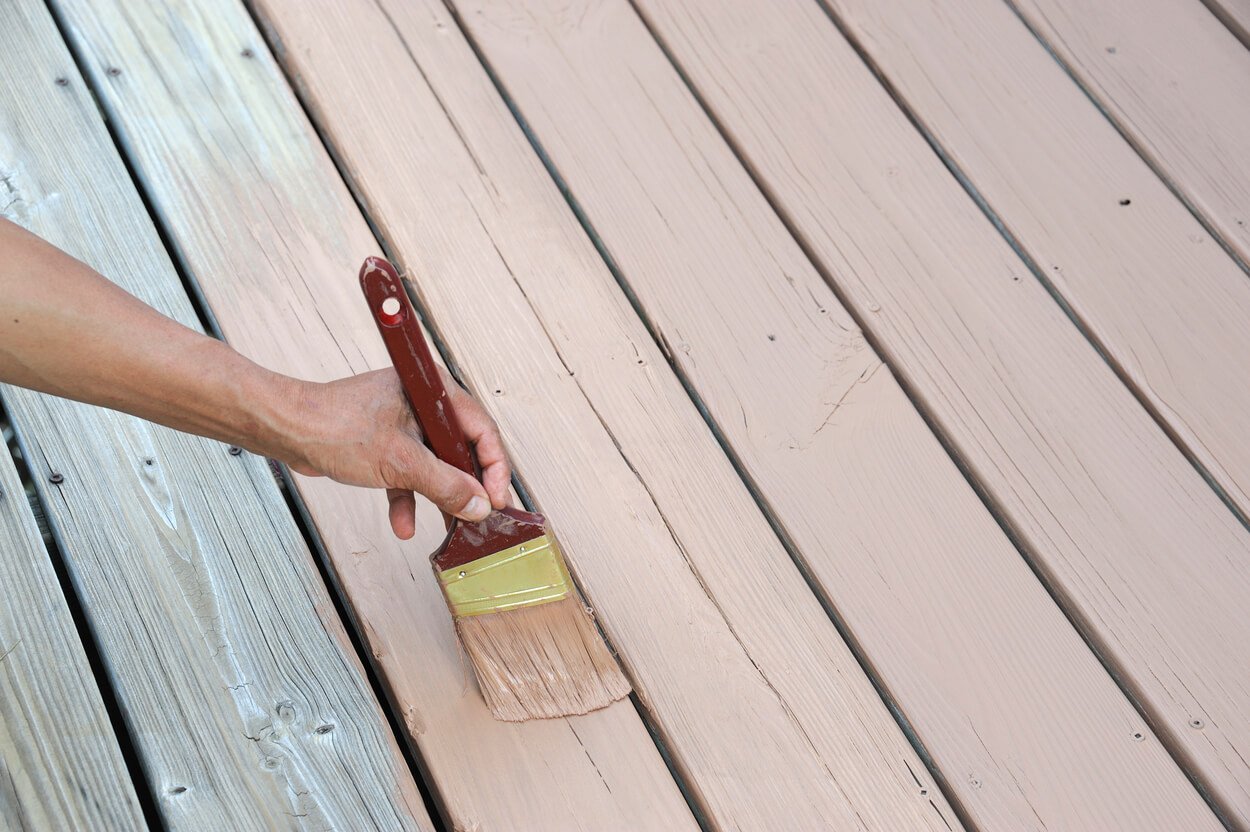
Step 2:
Give your chosen oil, paint or stain a stir, checking that it is smooth and well mixed throughout.
Apply a generous amount of paint to your roller, making sure the paint doesn't start to drip off the roller. Apply the paint to three to four Decking Boards at the same time, moving with the grain from the top of the Board to the base.
Use your roller for the majority of your Deck and the smaller paintbrushes for the harder-to-reach areas.
Step 3:
Complete the Deck following the above process. Once the first coat has been applied, wait for the Deck to dry completely.
Step 4:
Once the Deck has completely dry, check to see if you need to repeat the process, and reapply additional coats if necessary. Once you are happy with the coverage, remove the painter's tape from the Deck edges and near the house.
Top Tips:
Start deck painting in the furthest corner of your Deck, allowing you an easy exit route from the Deck. Apply additional paint to any splinters or cracks in the Decking to fill them or cover them over.
CHOOSING YOUR DECK PAINT
DECK PRIMER PAINT
When painting or repainting an old or newer deck, it is sometimes good to coat the Boards in a Primer. You do not necessarily need primer, but adding it to your Deck adds a layer of protection and allows the paints to penetrate and stick to the Decking Boards better.
Decking Primer is a good idea for any outdoor Deck, helping to further protect the Boards from the constant strains or the weather and the expansion and contraction of Boards, and the increased footfall. Properly priming your Deck could help increase its life and help improve the quality of the Boards for longer.
STAIN VS PAINT
To paint or stain your outside wood deck, that is the question.
Staining and painting both have a range of benefits, both aesthetic and otherwise. However, the final choice tends to be down to personal preference.
Pros of Paint:
Available in a range of colours
Lower maintenance than stain with up to five years of use before cracks appear or it starts peeling.
The thicker finish of the paint can find hide any flaws, cracks, or splinters.
Cons of Paint:
Paint covers the grain and natural beauty of the wood.
Due to water pooling, trapped moisture, and extended exposure to elements, the paint can begin peeling, splintering, and cracking.
The laborious process of applying with any existed painted surfaces needed sanding and treating before repainting.
Pros of Staining:
Easy to apply, with less overall maintenance
Allows the natural woodgrain textured surfaces of the Boards to show through
Stains can help protect your Boards from the UV
Cons of staining:
Will not hide any cracks, splinters, or exterior damage on the Boards
Requires more maintenance than painted decks
Certain wood types, such as tropical timber, cannot absorb the stain
To find out more about paint or stain and paint a deck or stain a deck, see here. Adding additional coats of paint, oil, or stain to your deck can transform your wood looks and sometimes help benefit your decking project, helping it last longer.
HOW MUCH PAINT SHOULD I BUY?
When you want to paint, stain, or oil your Deck, you want to make sure you don't come up short with the amount of paint or other exterior wood products you purchase.
Making sure you have the correct amount of paint for your Deck project can be done by following these quick and easy steps:
Step 1: With a tape measure, measure your Deck, writing down the height and width. If your Deck has multiple sections, note down the height and width of all the sections you wish to paint.
Step 2: Find the square meterage of your Deck by multiplying the width by the height. If your Deck is made up of many sections, find the square meterage of each section and then add them together.
Step 3: Find how much one tin of your chosen paint will cover. Roughly one Gallon of paint should cover 370sqm. If this is your Decks first coat of paint, please be aware that your wood will soak up more paint than projects which have previously been painted.
Step 4: If you want to add additional coats of paint to your Decking project, double or triple the amount of paint you need for the second or even third coat.
TOP TIPS: Round up the amount of paint you may need, so you have enough left for any additional required touch-ups.
CONCLUSION:
If you are planning on painting a deck, and you have existing deck paint peeling or loose, then be sure to wash, sand and prepare your Deck per the instructions above to help ensure a smooth and even coverage.
Adding paint or a stain to your existing Decking is an easy way to transform the appearance of the Decking area without having to replace it. However, if you paint a deck or stain it, the wood requires a level of maintaining.
If you would like a high-quality, low-maintenance Decking Board, Cladco offers Composite Decking and Nordeck PVC Decking in various colours, which require little maintenance.
Find out more about our range of low-maintenance and no paint Decking Boards via our website here, or by calling one of our friendly sales team on 01837 659901.
