
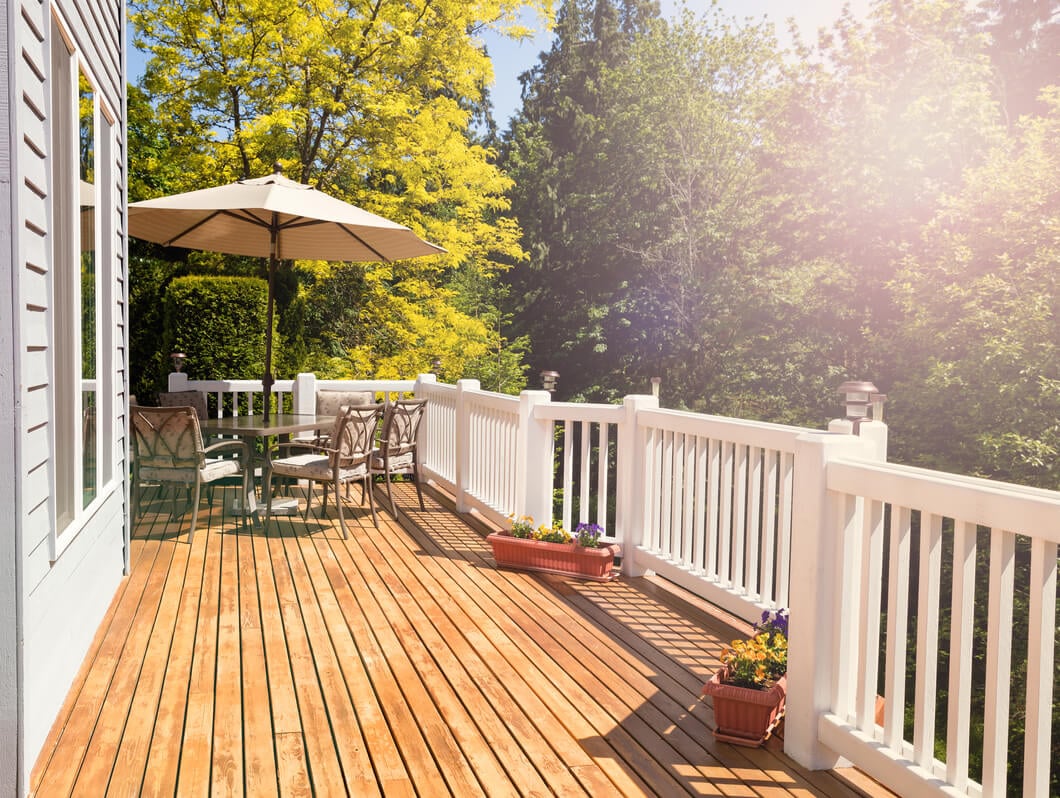
Adding timber decking to your garden is a fantastic home improvement project, extending your living areas and potentially increasing your property values. However, like anything kept outside and open to the elements, your timber decking boards may not look as perfect as the day you were installed for long.
However, you can easily transform the appearance of dated, stained, and neglected Deck in six easy steps. Restore your wooden Deck by following the guide and the stages outlined below.

What Can You Expect From a Deck Restoration?
Timber Decks do need regular treatment and maintenance. You should clean and maintain your Deck at least once a year to coat, sand, varnish or paint your Deck. A Deck restoration should completely transform how your Deck currently looks. Repairing my decking boards can allow your Deck to go from messy, unkempt ugly items in the home to a high-quality, wood deck.
Restoring a deck should take a few days to complete and leave you with a high-quality, attractive Decking, which shouldn't have any splintering, peeling or cracking surfaces or edges.
Recommended Tools & Materials
- Deck Screws / Nails (essential)
- Power Drill (essential)
- Replacement Lumber (essential)
- Sander manual sanding blocks or mechanical power sander (essential)
- Deck Stain(essential)
- Decking Cleaner (optional)
- Varnish (optional)
- Brushes and Brooms (essential)
- Paint Scraper (optional)
- Pressure washer (optional)
- Paint Brushes and Rollers (essential)
- Decking Brightener (optional)
- Protective Clothing including (optional)
- Protective Plastic Sheeting (optional)
View a detailed list of all the Decking items you may need when restoring a wooden Deck here.
6 Steps for Restoring a Deck for Cheap
A well-loved and well-used deck may need to be restored now and again. Restoring and repairing your Decking is crucial for keeping up the appearance of your Deck, as well as the safety of it. A weathered deck can become slippery from mildew, unstable from rot and could also splinter and warp. Keep yourself and other users safe and your Deck looking attractive with regular maintenance and upkeep.
Before starting on your restoration - be sure to check for any rotten or damaged joists. If you come across any rotten or damaged boards, joists and posts, see our blog here.
STEP 1: MAKE REPAIRS & SCRAPE OFF LOOSE FINISH
When restoring a deck, you want to make sure that you are starting from a blank canvas. Wooden decks should be treated, stained and maintained annually. Start by removing any furniture, garden plants and other items from your Deck.
Inspect all of your Decking Boards and Joists, if any have rot, splinters, or nails protruding out of the Deck. Replace or repair the Boards.
If your Boards or Joists are partly rotted, remove the dead and rotted wood with a knife or scraper. If the Board or Joist is beyond repair, remove the Board by carefully prying the nails and screws loose and removing the Board.
Cut a replacement Board and fix it to your Joists with new screws, installing by drilling the screws through the surface of the wood into the supporting structure below. Make sure to leave a couple of inches clearance on either edge of the Deck.
Find out more about replacing and repairing rotted Decking Boards and Joists here.
Then begin to remove any old varnish or paint from the surface of the wooden boards.
You can do this with a paint scraper by applying pressure on one side of the Board, moving the scraper forward along the Deck, making sure to follow the direction of the grain.
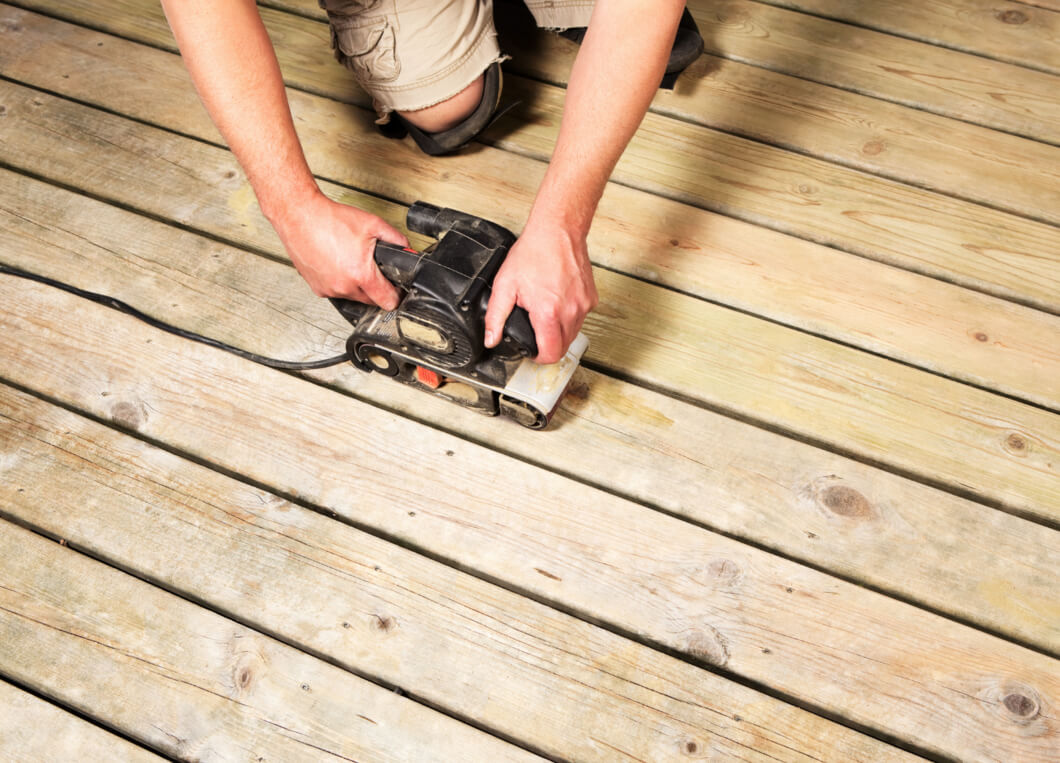
Once you have removed the old deck stain, paint or varnish, with your sander (manual or power), work your way around your entire Deck, sanding each area to remove any wood stain or leftover treatment.
Keep sanding your Deck until the surface is clear of any material and you are left with bare wood. Make sure to sand all marks and areas of your Deck, so your surface is all the same level.
Top Tip: When sanding, make sure to use 60-80 grit sandpaper on your Deck Boards and 80 -100 on any handrails or spindles.
STEP 2: SCRUB THE OLD DECK SURFACE
Removing the old Deck surface can also be achieved by using a Deck stripper. Deck stripper has the advantage of removing old paint and varnishing and helping to wash any stains from your Deck. A Deck Stripper works by breaking down the old stain leaving your Decking primed and ready to be brightened, resealed or painted. After initially sanding the Deck, a stripper can be used to remove any stain or old sealer that the sander may have missed.
While you should have gotten all old varnish, paint and stain off of your Decking Boards during the sanding process, leftover dirt, debris and fibres may still be on the Boards surface.
Start by sweeping the entity of your Deck, removing any loose dirt with a stiff bristle brush. Then make sure you set your Pressure washer on a low setting and rinse any dirt away.
Once your Deck is clear of any debris, apply your Decking Cleaner, following the brand's instructions or your soap solutions. Let your Decking Cleaner or treatment soak into your Boards for 5-10 minutes.
See our in-depth blog about cleaning your Decking Boards here
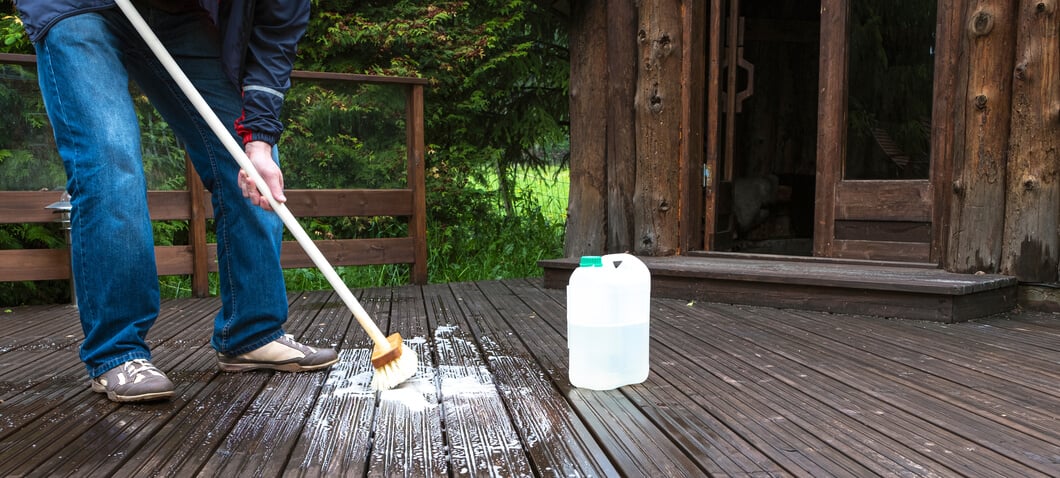
STEP 3: CLEANING THE DECK SURFACE
With a stiff bristle brush, work the solution into the Boards, paying particular attention to the wood grain and removing dirt from the indents and grains within the wood. Cleaning and Brushing your Deck's surface also helps remove any leftover stripper or sander grit from the Boards surfaces.
With a smaller brush, make sure to scrub the areas between your Boards, the edges and handrails.
See our in-depth blog about cleaning your Decking Boards here
CHOOSING THE RIGHT CLEANER
To ensure your Deck looks good all year round, it is important to maintain it every year. If you have a wooden Deck installed in your garden, it is bound to get dirty, with algae, mud, grit and mildew. Regularly cleaning your Decking Boards will maintain and restore Deck for many years to come.
There is a range of cleaners available on the market, so making sure you choose the correct cleaner for your Deck is important. While your Deck will gain an attractive weathered look, due to being subject to the elements, you can ensure your Deck DIY project will look good for many years to come without mildew stains or a build-up of dirt.
Below is a list of common Deck Cleaners, which can be used on various decking materials, including wood, Composite, or PVC Decking Boards.
- Sodium hypochlorite - Sodium hypochlorite is a liquid bleach often used within Cleaning solutions. The cleaner is often used on wood decks to wash the Deck, as the solution should not damage your Deck if used correctly. If you redo deck cleaning using Sodium hypochlorite Cleaning solutions, this will sanitise the Boards and remove any bacteria and germs that could otherwise wreak havoc on solid wood.
- Sodium percarbonate - Sodium Percarbonate is a powder, which when added to water, forms hydrogen peroxide, a form of bleach that can help transform your Deck. If your wood deck has turned grey, with mildew and dirt engrained on it. Using this Cleaning solution will completely transform the surface of your Deck. The power can act as a brightener, giving you a cost-effective way to carry out a deck renewal without replacing your Boards.
- Oxalic acid - Like the above, Oxalic Acid is a common bleach or chlorine that can be used to restore wooden Deck and remove any mildew, dirt, water and rust stains and help lighten any weathered and grey Boards.
- Sodium hydroxide -This is a popular Deck Cleaner because the solution doesn't need to be used with a pressure washer to get the desired clean effect. This Deck cleaner can wash away most stains and dirt. However, when using this cleaner, you may have to naturalise your Decking after using it to ensure your Deck reverts to its original cedar, redwood or teak shade.
DIY Cleaner - You can wash your Decking Boards with DIY Cleaner. This may require slightly more scrub with your bristle brush to ensure your Boards are thoroughly clean. DIY Deck cleaners can be mixed with bleach, normally two parts water, one part bleach, or one-part dish detergent and two parts water. This is a fast and cost-effective way of conducting home improvement cleaning.
We recommend using Cladco Decking Cleaner for cleaning any Deck Boards.
STEP 4: POWER WASH YOUR WOOD DECK
Once you are happy that you have scrubbed the Boards with your stiff-bristle brush and have removed as many stains and dirt as you can, rinse off all the remaining Decking Cleaner with a pressure washer.
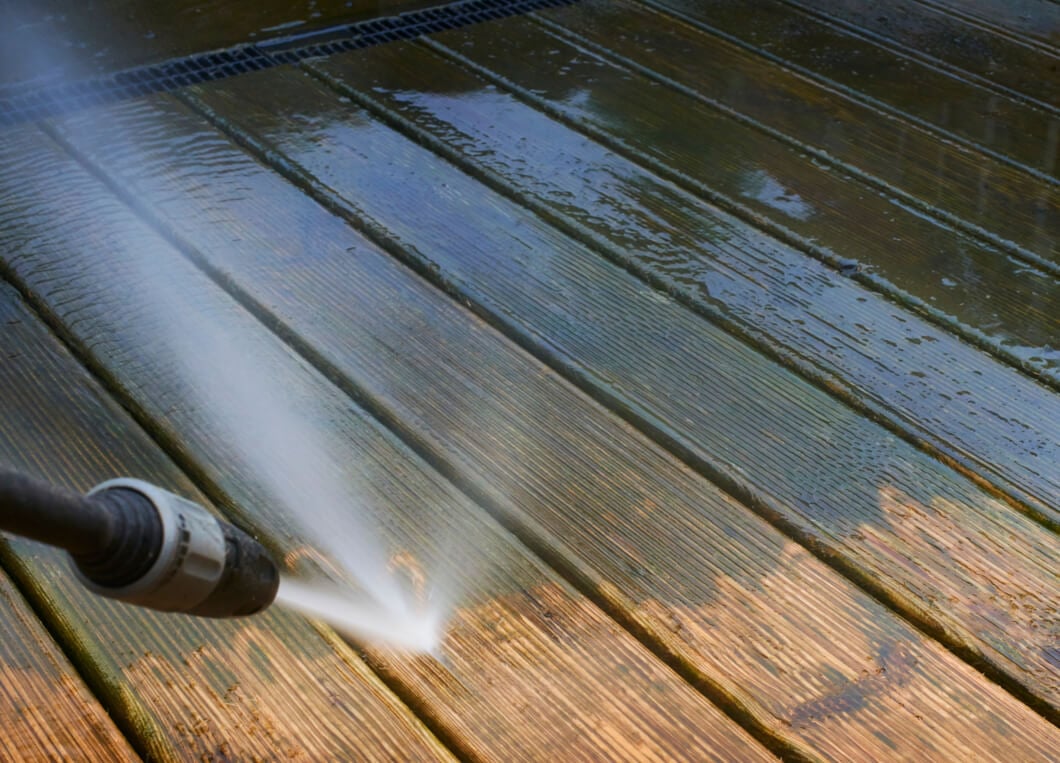
Make sure you set your Pressure washer on a medium-high setting, hole your pressure washer and rinse the cleaning solution off the Board.
It is recommended to follow the grain of your wood and make your way up and down one Board at a time. Make sure to rinse away any cleaning solution fully.
See our in-depth blog about cleaning your Decking Boards here
Before moving on to the next step, make sure your Deck is thoroughly cleaned and your project completely dry.
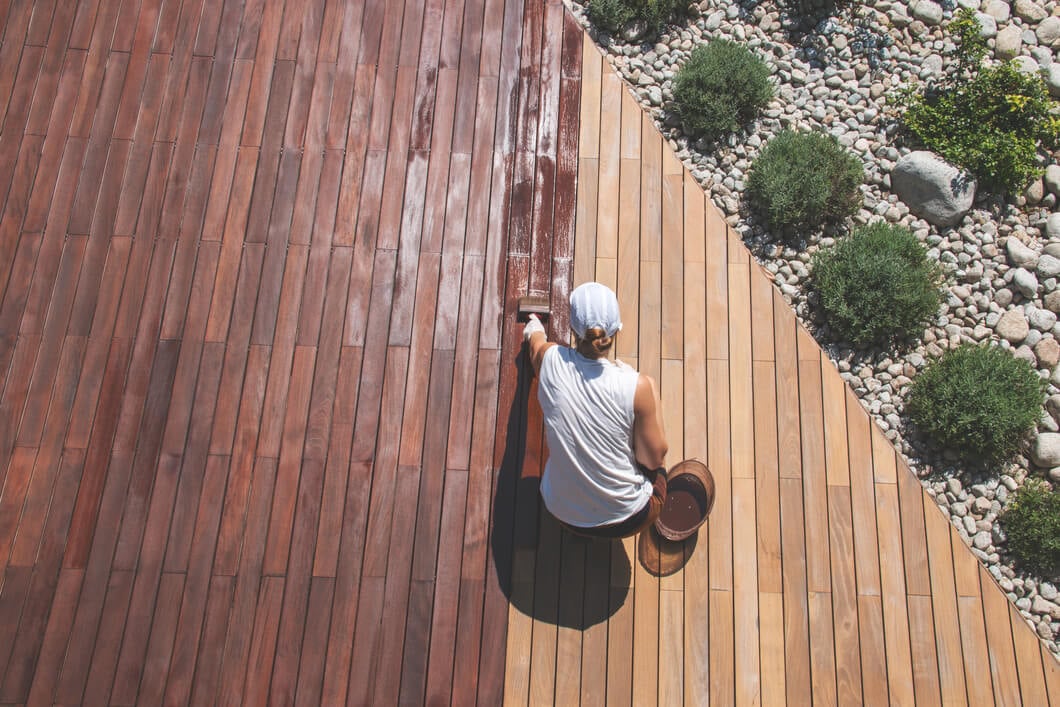
STEP 5: APPLY DECK FINISH & STAIN
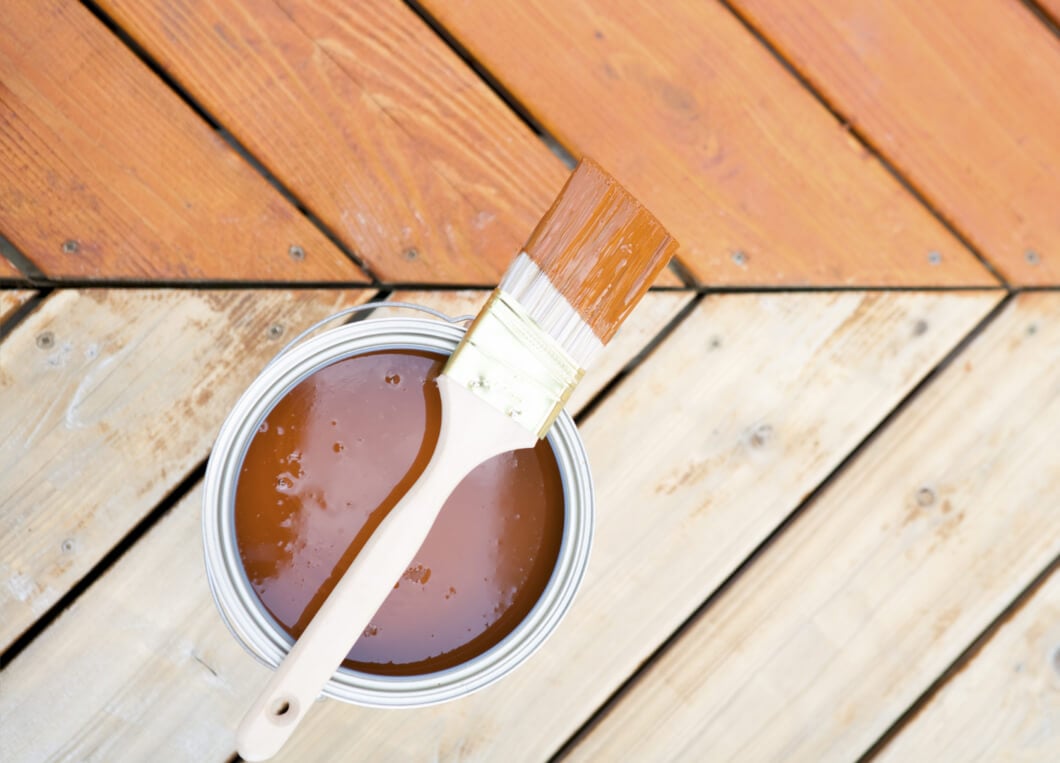
Deck finish can apply to either a sealer or a stain. Both are engineered to help protect your wood from the elements. Sealers are often transparent and allow the full colour of your wood and the wood grain to show through. However, Deck stain is often semi-transparent or available in solid colours. A semi-transparent stain can allow your natural wood grain to show through, but the stain can subtly change and brighten the tone of your wood deck.
Before applying your wood stain across your Decking, test your Deck to see if it is ready. Pour a bit of water onto your Deck. If it gets absorbed into the wood within 10 seconds, then your Deck is ready for stain.
Adding a sealer or stain to your Decking changes how your Decking looks, protects the Boards, and prevents moisture from entering the wood's pore, causing mildew growth and rot.
Sanding your wood deck before applying your sealer or stain means the stain should be able to penetrate the wood, increasing the longevity of the stain and helping your Decking Boards withstand the elements.
Make sure your Deck is completely dry. Then add a Deck stain to your Deck using a paintbrush, or paint roller. Paint your chosen stain across the Deck using a paint roller or brush, and make sure to follow the same direction as your woodgrain.
Start from one end of your Deck and brush your sealer into your wood. Make sure to use a smaller brush to get in between your Decking Boards, any railings and the edges.
Wait for the stain or sealant to dry before applying a second coat.
TIP: Test multiple stains on your Deck, making sure to choose the correct stain for you. Deck Stain are often available in a range of colours and tones, so make sure you choose the correct colour for your home improvement project.
STEP 6: BACK BRUSH FINISH INTO THE DECK
Back Brushing is a term used to describe the action of working your chosen finish into your Deck wood. Make sure the finish is absorbed evenly across the entirety of your Deck. This is sometimes known as refinishing.
Refinishing your Deck with Back Brushing can be done either with an airless sprayer or manually. Ensure you have a high-quality, wide Brush. Using a narrow brush will result in visible brush marks across the surfaces of your Deck.
With your brush, apply pressure and distribute your finish into your Deck, making sure that the finish is applied into the wood grain, end gaps, and seams across your Deck. Back brush the finish to remove any drips.
Best Treatment for Old Wood Deck
Having an old wood deck in your garden is sometimes not safe or attractive to have in your garden. You don't need to tear it down and start again. Most wood decks can last for many years without being replaced as long as they are properly maintained.
Here are a few of the best treatments you can give your wood deck to ensure it lasts for you.
- Pressure Treated - Pressure-treated wood is protected against moisture entering the pores and breaking down the material. Pressure-treated wood, or treating it yourself with the steps above is an easy way to strengthen your Boards and lengthen your Decks life.
- Restoring Rotted Boards - Checking your Deck and removing any rotten or dead wood
- Paint your Deck with sealant, stain, finish or paint - these can act as a brightener and create a smooth, protected surface that can last for many years to come.
- Regular treating, cleaning, stripping and refinishing your Deck can maintain your Boards for many years to come.
Find out how to care, and clean your wooden Deck here.
Conclusion:
Restoring old Decks is a fantastic way to transform the appearance of your house and garden and breathe life into your Deck. Now you know how to redo a deck for cheap, and the amount of work that goes into Deck recovering, you may want to purchase a low-maintenance, high-quality Deck.
Cladco Composite Decking and Cladco PVC Decking Boards offer the appearance of a high-quality wooden Deck without the hassle of maintenance. Composite and PVC Decking Boards do not require sanding, sealing, varnishing or painting. Simply install and enjoy.
Find out more about our low-maintenance Decking range by ordering a Sample Pack, or plan your project today using our Decking Calculator.
