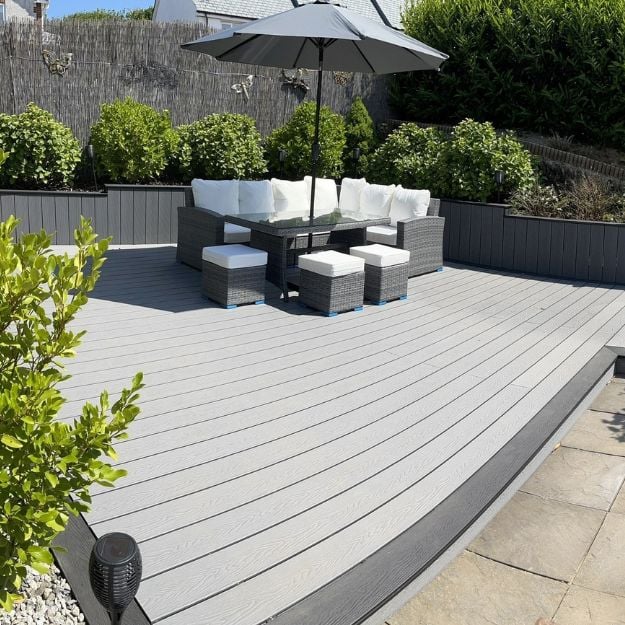
Who wouldn't want a dedicated, low-maintenance, level and non-grassy area to relax or entertain friends and family during the warm summer months?
A decking can provide a clean and stylish space that can be enjoyed all year round with minimal upkeep, so you can spend more time enjoying your garden than maintaining it.
Having a stable decking area can increase your home's resellability by making it more appealing to potential buyers. On top of that, covering worn-out patio tiles, tarmac, or unsightly concrete, can hugely increase the visual appeal of your garden and outdoor space.
ARTICLE CONTENTS
Do I need to prepare my garden for decking?
For a decking project, you will need to map out the size and shape of the area you are looking to cover. This will determine not just quantity, but also costings of materials, whether you opt for Composite, PVC or Aluminium Decking.
Purchasing deck boards is just the start. Selecting materials for your supporting substructure, trims and fixings all play a part as well. Planning how your area will look will also help you answer questions such as 'do I need to undergo any landscaping or levelling?', or 'do I need to lay concrete or weed mat?'
Choosing the right location
Picking the right place to build your deck area will depend on how and when you'll be using the decking area. For example, if you are planning to sit and relax in the sunshine then placing your deck in an area that gets the most sun during the day will be essential.
If you are looking for a mix of shade and sun, then consider the best position under trees or adjacent to a building to provide some cover. Also, do you need access to your home, or to a side door directly onto your decking?
Be wary of installing your decking under trees and bushes, however, as animal droppings, berries and leaves could fall and stain deck boards over time. You can always install a canopy, or covering, to keep your decking area protected.
Replacing part of your garden with decking boards may reduce the amount of gardening needed. Any loss of garden space can always be replaced with freestanding plant pots or flowerbeds.

Measure and mark out your area
This part of the process will help you decide how many boards you will need and should be done before you purchase.
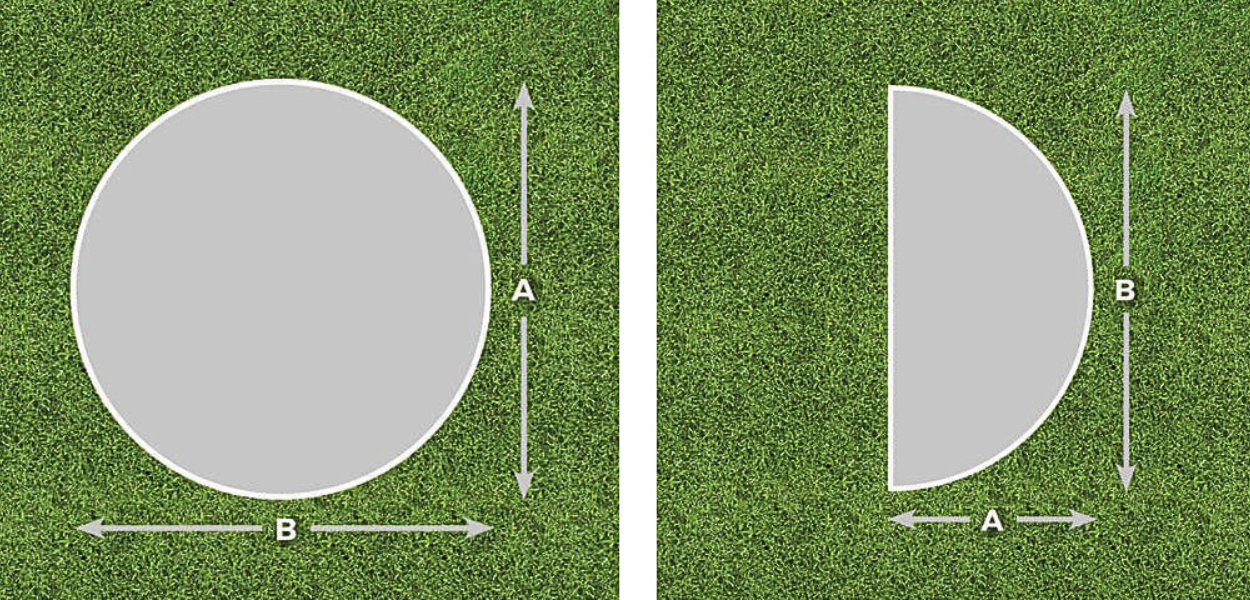
To calculate the square meterage and number of boards that will be required, start by marking out the total area that needs covering. Measure the longest and shortest edges, then multiply the numbers together to obtain the square meterage. Use a string line from one corner to the next to help visualise and measure the area.
For curved sections within your design, square off the curve and measure along the outside edges; it's best to be over than under at this stage to avoid having to reorder more boards later down the line.
Check for underground utilities and obstacles
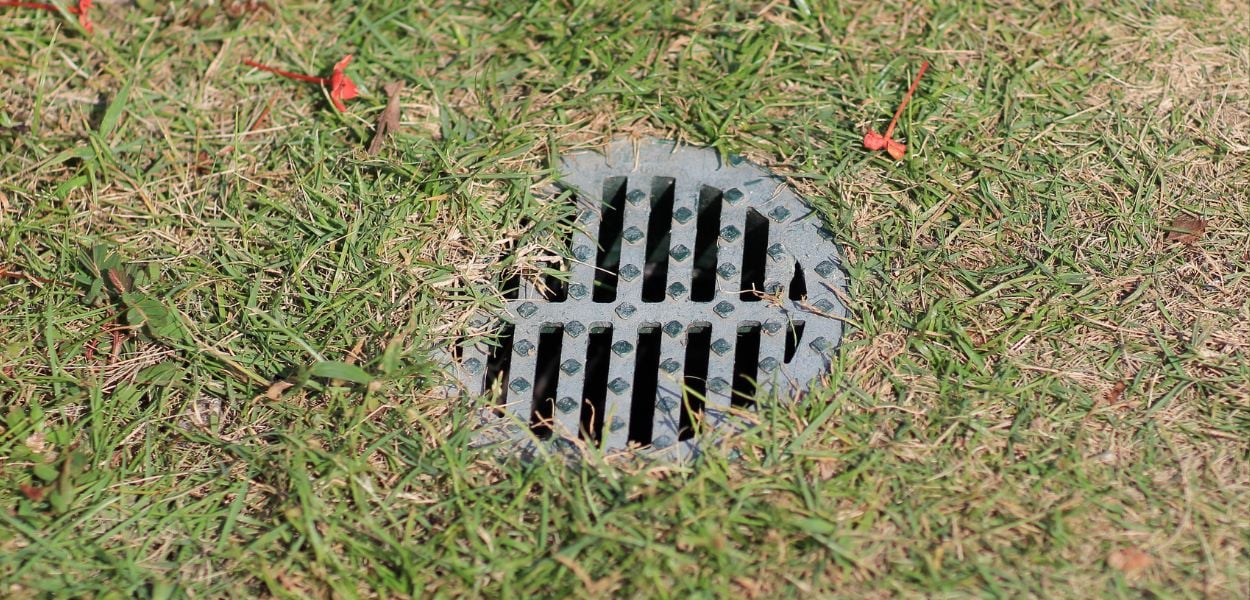
Before digging or drilling down under the ground, be sure that there are no obstacles such as sewer pipes or cables. If you are replacing an existing decking space then it should just be a case of replacing the posts in the existing holes without concern.
If you planning on clearing out the ground or digging below ground level to install decking posts for a new raised decking frame, check the recommended depths for each post; generally, 1/3 of the post should be underground. Postcrete should be used to fix the posts in place, allowing ample time to dry and solidify.
Always check before going ahead with any construction work or planning. It is worth checking whether you require planning permission, or a permit, to build in a certain area. Are you installing over drains and do they require access by utility companies? If in doubt, check with your local planning authority beforehand if there are any restrictions.
Building a solid foundation
Decking base, location and soil
Firstly, you'll need to assess where you plan on laying the decking and what the foundations of the deck area will be. If you are installing on soil, lay deck boards over weed control fabric. When installing posts into the ground to raise above grass, adequate postcrete will be needed to secure the uprights before fixing joists.
If you plan to build a decking area over a solid base, such as concrete, joists can secured to the ground without the need for additional prep. We recommend a minimum gradient of 1 in 80 to allow for sufficient water run-off.
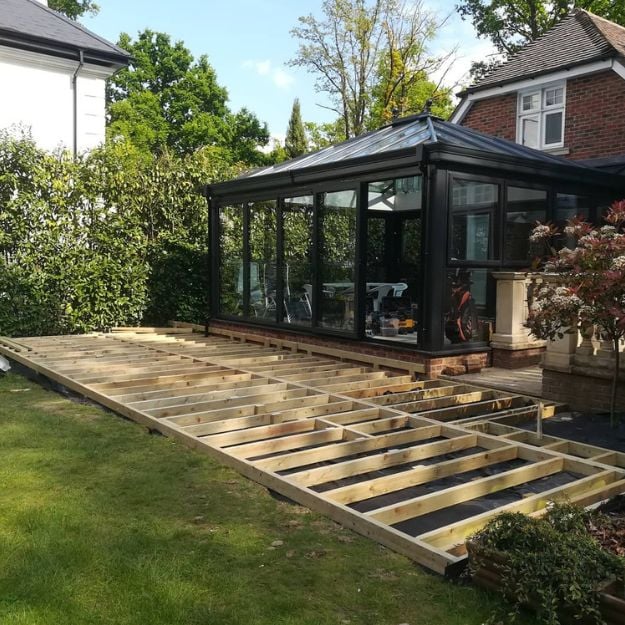
Installing decking base supports and frames
Keep in mind that you will need to set your bearers installed with a slight angle to allow for water run-off. If installing decking areas extending from a patio or sliding French doors, bearers may need to be sunk into the ground to adjust the height (allow for the height of the joists and deck boards).
For a raised decking frame, supports should be placed at 1 metre intervals around the outer edge of the frame.
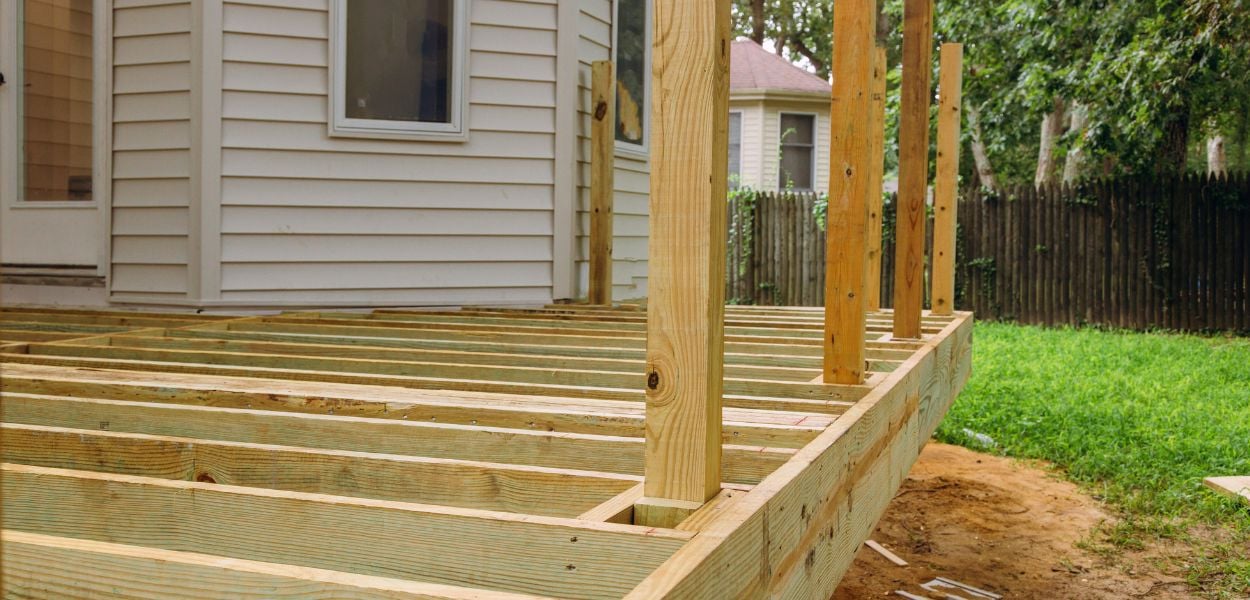
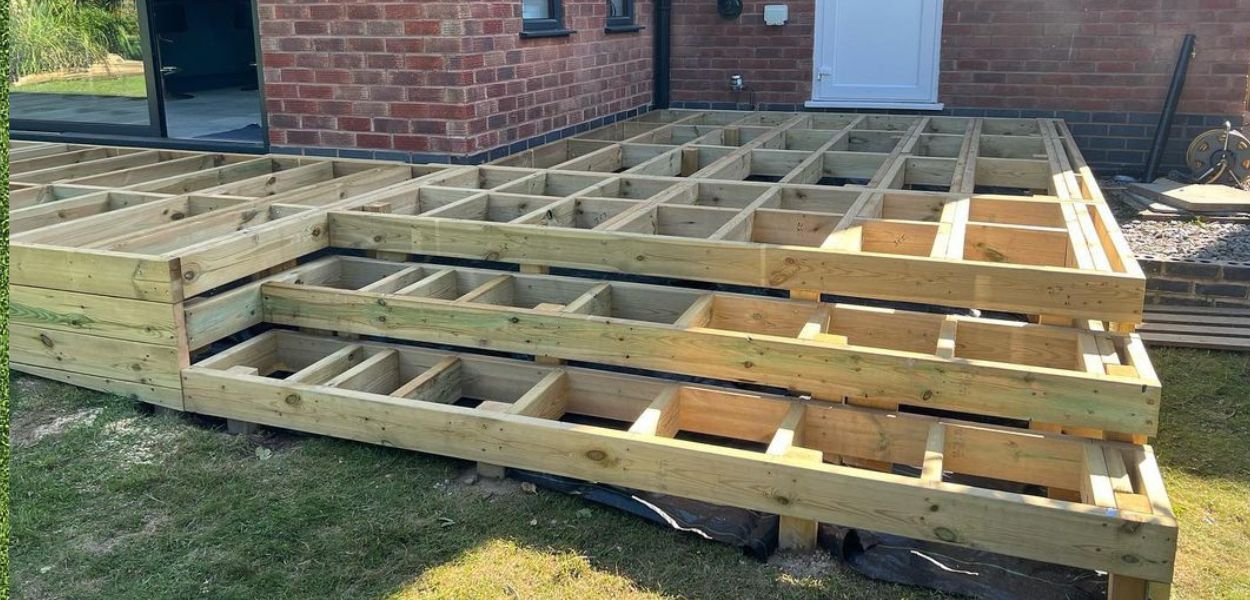
Creating a subframe for your decking
A sub frame is usually created from timber, or recycled plastic joists and posts, and formed in a way that supports the weight of the boards. Joists are laid in the opposite direction to the deck boards, with adequate spacing maintained between joists.
This spacing will vary depending on the board type, for example, a maximum of 400mm spacing between joist centres for Composite Decking and 300mm maximum spacing for PVC Decking. A corner post will require at least two coach screws to be installed to the inner joists and the outer joist frame
Securing your subframe to the ground is also an important step before installing boards. For concrete bases, ensure the concrete base is a minimum 10cm thick.
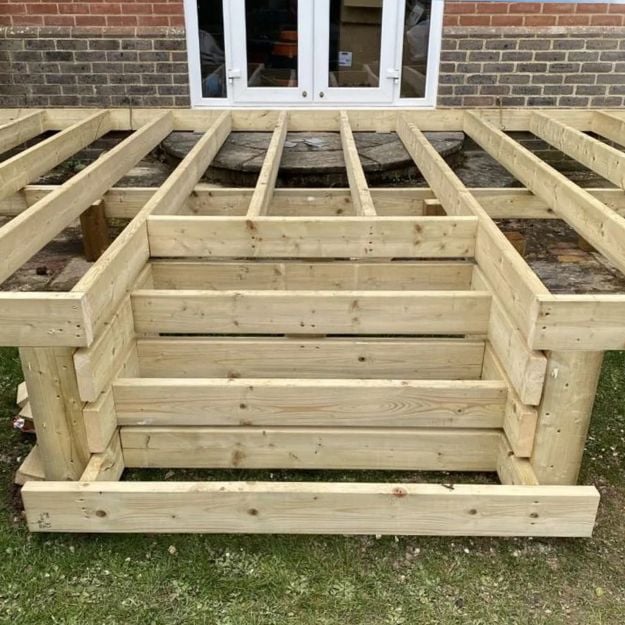
Building a raised decking platform
If you are building up a raised deck area to incorporate steps or a multi-leveled design, use timber or plastic posts for securing uprights before connecting horizontal joist supports.
Be sure to secure smaller upright supports between joists for additional cross-support. This will help reduce sagging or dipping in the raised deck area. Additional blocks can be added to support adjacent joists to add extra stability.
Repeat this process for each of the four corner posts, ensuring they sit flush with the outer and inner joist using a spirit level.
Laying the decking
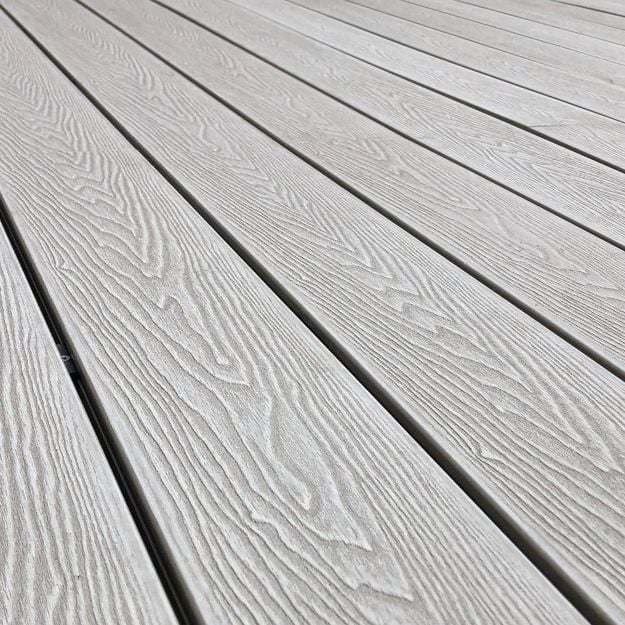
Choosing the right decking boards and materials
Whether you are working with Composite Deck Boards or PVC Decking, Aluminium Deck Boards or Timber, each type has a different method of installation that is specific to the material.
Laying deck boards such as composite or aluminium will require T-Clips or Hidden Fastening Clips to secure the boards, leaving expansion gaps between the first board and the following boards.
Composite Decking can be installed onto composite, timber or recycled plastic joists, whereas Aluminium Decking requires dedicated aluminium joists. PVC Deck Boards, on the other hand, will require structural composite or larger timber joists to support the extra width and weight of each board.
Aluminum Decking - a lightweight material that has an A2 fire rating - is perfect for balconies, high-rise buildings, or similar. This type of decking board also has one of the longest lifespans, with the potential to last up to 100 years.
Cutting and preparing deck boards
Both timber and composite deck boards can be cut using standard woodworking tools, such as hand saws or jigsaws. If using a hand saw be sure to measure using a right-angled ruler or square. Measure the distances between a timber batten from centre to centre and measure where two boards meet end to end in the same direction.
Prepare your deck board by measuring the length required before cutting. Use a jigsaw or circular saw to effectively cut the boards to size. Any angles around corners or objects should be marked and cut out before installing the decking into place with clips.
Always lay a composite deck board or timber in dry conditions as composite materials will expand and contract. This will avoid unwanted gaps appearing when the boards return to size after drying out.
Laying decking on soil, grass, concrete, and uneven ground
Decking can be the perfect answer to levelling an uneven patch of ground, but it is crucial that the ground underneath is stable and prepped for handling the weight of a deck area. If in any doubt, we advise seeking further advice from a professional landscaper to find how best to prepare your surface.
Deck boards can be installed over many surfaces such as soil, grass or concrete. Installations over grass will need to be raised over the grass, with weed mat laid down so that the damp ground does not remain in long-term contact with the materials.
Fastening decking boards securely
Deck boards can be fastened to joists securely using plastic T-Clips or stainless steel hidden clips for a Composite Deck. If you are securing timber or PVC Deck Boards, you will likely need to drill pilot holes and use wood screws to secure the boards into the joists.
Composite Deck T-Clips are the easiest and quickest way to install boards, leaving a 7mm expansion gap between adjacent boards. PVC Boards are fixed using approximately 26 screws along the length of the boards to create a secure deck area.
For the outer edges of raised decks, a fascia board can be used to conceal joists on the outer frame. Consider countersunk holes to create a smooth deck surface.
How to use Cladco Hidden Deck Fasteners
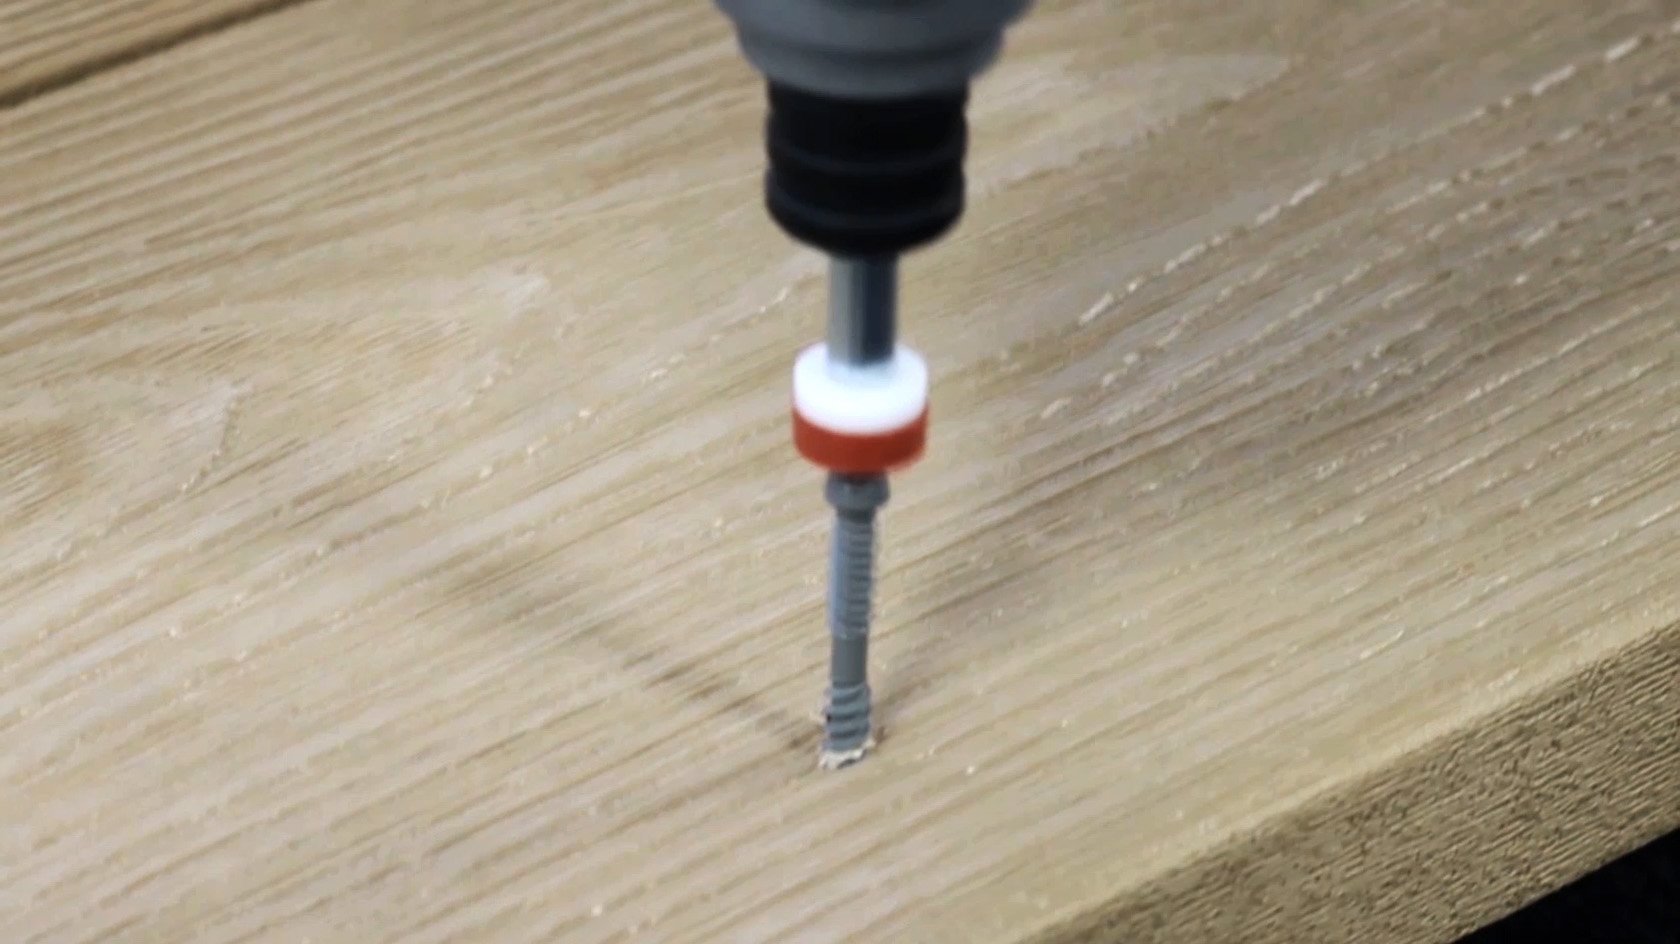
Step 1 - A pilot hole can be as a pre drill method. Up to two screws can be inserted for bullnose decking board along the length of the board. Using Cladco Hidden Deck Fasteners (65mm screws) and either a drill driver or power drill, ensure the bullnose board or PVC deck board is supported along the entire length of the board with a screw inserted into each joist.
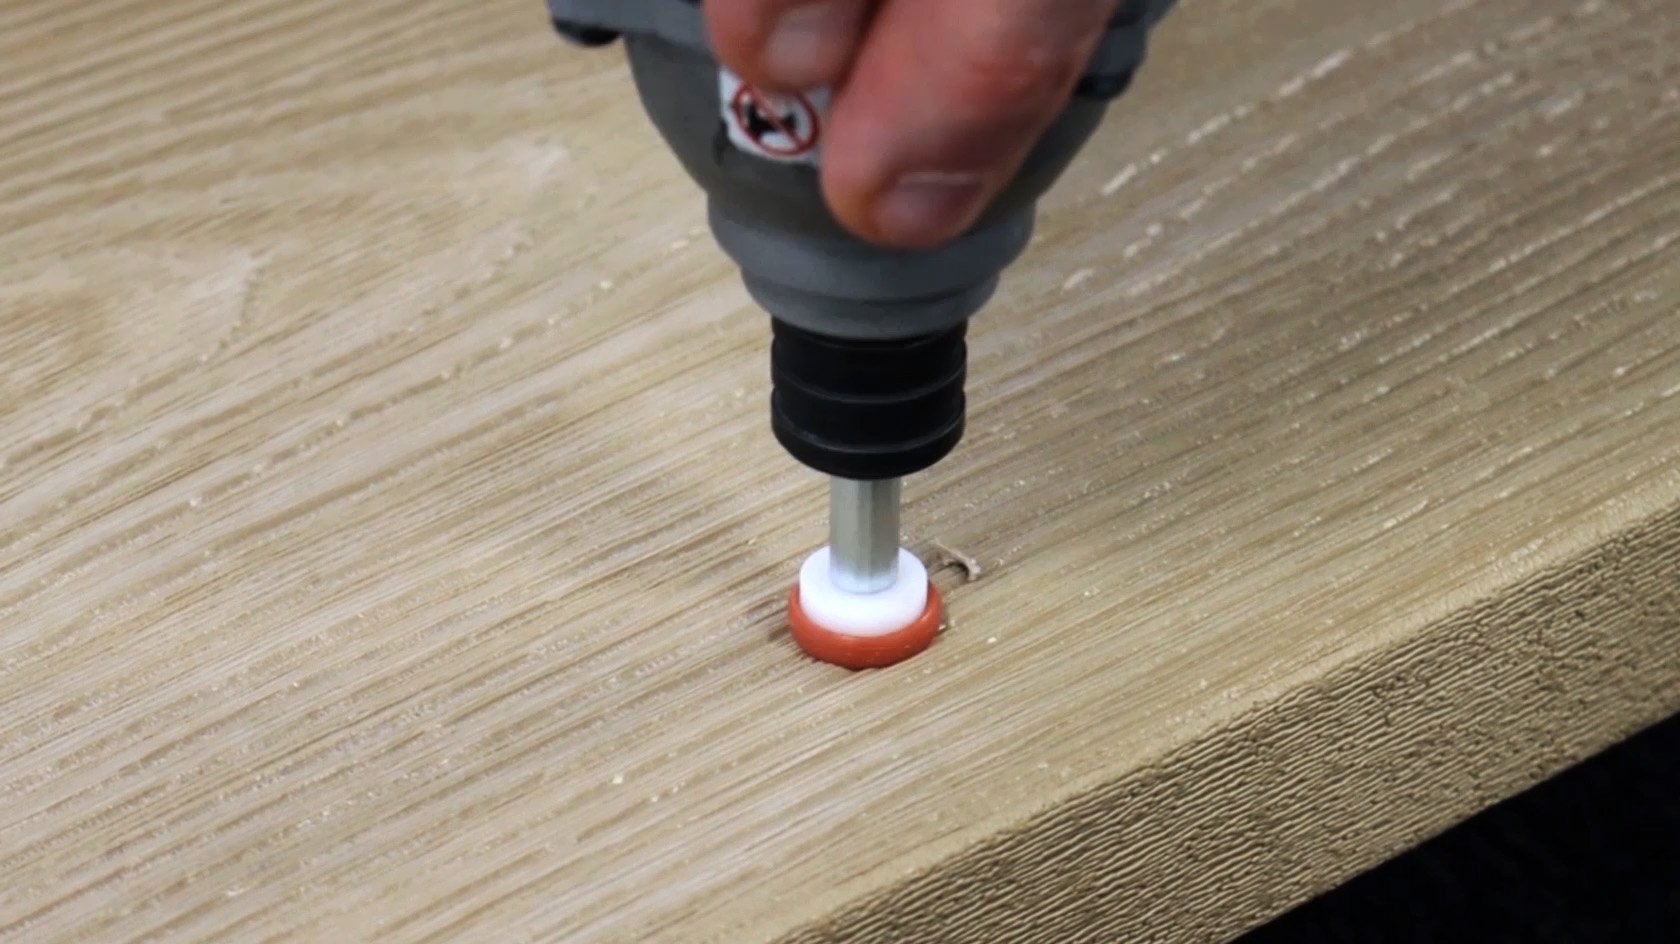
Step 2 - Apply pressure using the supplied drill bit to compress the orange pad onto the surface of the Board to create space for the plug over the screw heads. The drill recesses into the space to create a countersunk hole for the plug.
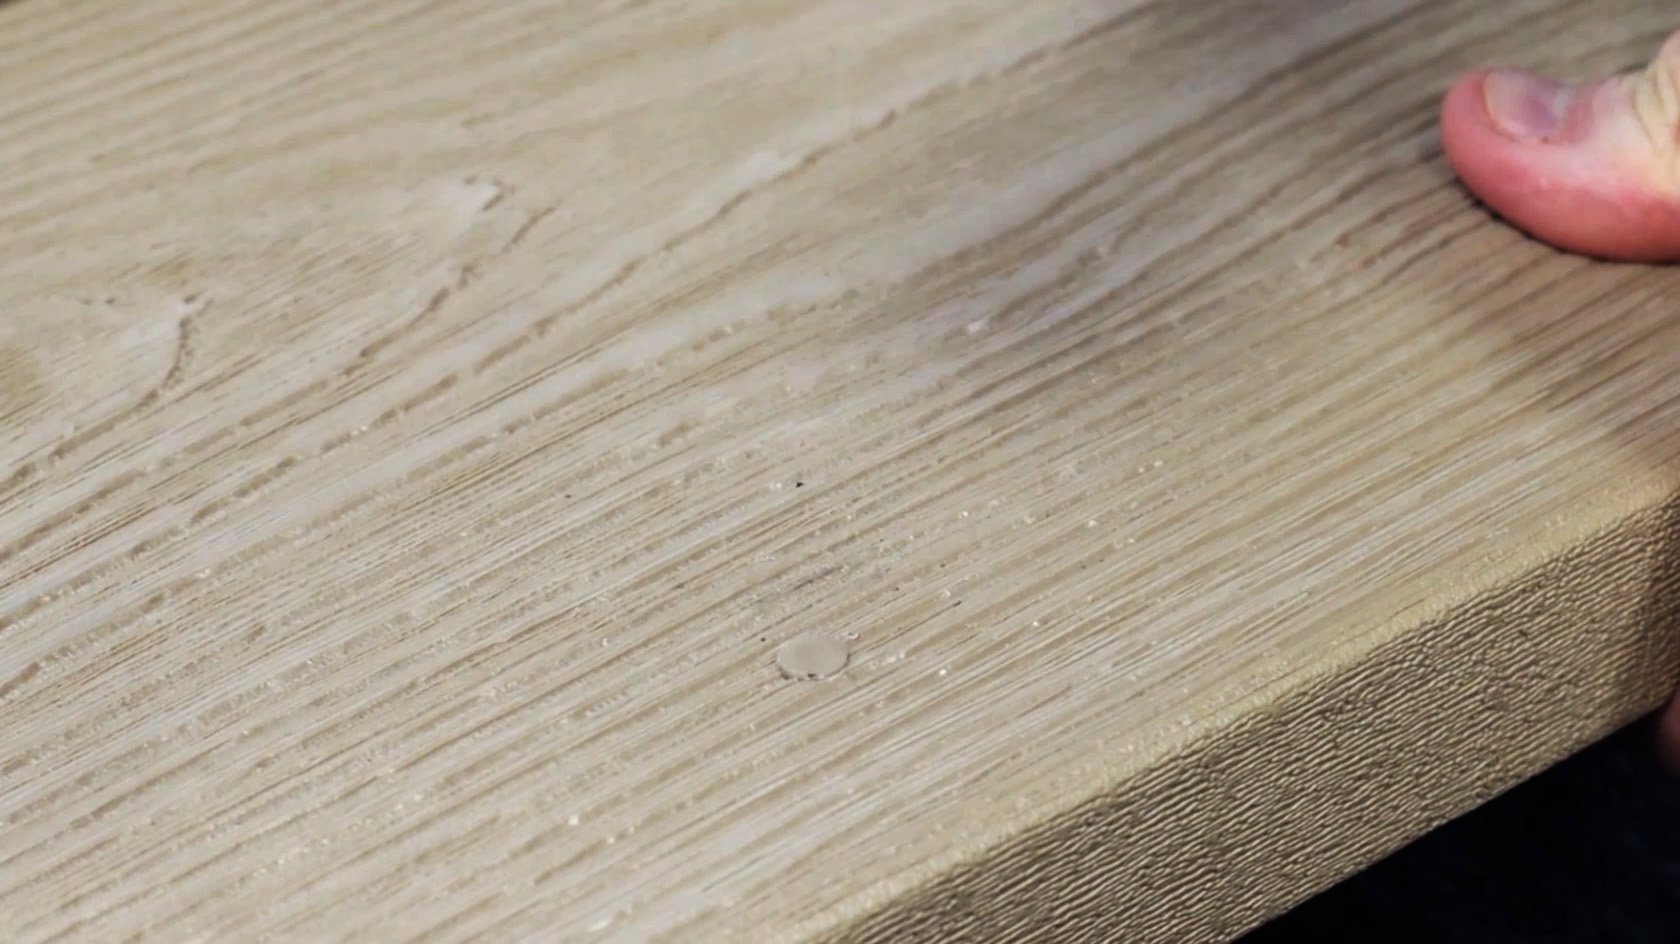
Step 3 - The supplied plug can then be inserted using a rubber mallet to create a flush, hidden finish over the screw heads. One row of screws is recommended for each board, inserted 13mm from the edges.
Finishing touches
Applying a protective finish or stain to your decking
Composite decking is easy as there is no requirement to stain, treat or varnish composite. Composite Wood Finish by Owatrol is a water-based solution that can be used on composite deck boards to improve their water-proofing and stain protection, but this is not essential.
Timber decking requires regular maintenance to keep the wood surface from rotting or becoming brittle over years of exposure to the elements. It is recommended to varnish or stain timber decking to keep the surface protected and improve its longevity. As with any timber product kept outdoors, annual care and treatment should be considered.
If opting for PVC decking or aluminium decking, there will be no requirements to finish or stain the boards due to the hard-wearing surfaces. Although more expensive on the initial outlay, maintenance costs are significantly reduced throughout their lifetime.
Adding railings, stairs, and other features
Installing a raised deck space? Adding a railing or balustrade to a raised deck board will increase the safety aspect of the area. Especially down steps, a handrail is recommended to prevent accidents or falls from happening.
If you are planning on adding railings, stairs, or other additional features to your decking space, these are best installed onto solid core deck boards such as Bullnose Boards, or Nordeck PVC Decking Boards. These types of Boards provide adequate support to be able to drill into the boards and fix features such as a Balustrade Post.
As well as steps, additional features may include a hot tub, ornaments or BBQs. When including features such as these, be sure to select the best deck materials to suit. For example, for areas surrounding pools or hot tubs, Capstock PVC decking will be the most suitable decking board of choice as it resists water.


Incorporating lighting or other decorative elements
Incorporating lights into your decking space can be a great way to illuminate your decking in the late evening to get the most out of your area. Circular ground lighting can be positioned around the first deck board of a perimeter of a deck area through a solid deck board or bullnose board.
If you have already installed your deck boards and can't fit them retrospectively, then there are some great options for easy-to-fit, solar-powered or battery-powered lights that don't require any drilling or taking up your deck boards.
Maintaining and caring for your decking over time
As with anything installed outside, a certain amount of maintenance will be required to keep it looking at its best. A composite deck is low-maintenance and so requires very little maintenance over its lifespan.
Consider regular sweeping of your decking to remove any debris and also make sure to wash your decking with warm soapy water to reduce the build-up of dirt or grime.
As a composite deck is part natural wood fibres, you will need to be aware of slight fading, expansion, and contraction of the boards in bright sunlight and or wet conditions.
Tips and tricks for successful DIY decking
Using a decking calculator to estimate materials needed
Work out the amount of materials you will need for your deck installation by using a decking calculator, such as the free Cladco Calculator. This will work out how many boards you will need as well as how many bags of screws are required. Fascia boards, clips, and adhesive can all be added within the calculations if attaching trims.
Whether you are planning a 'U' shaped deck area, a circular space, or a more conventional square deck area, the calculator will be able to work out the number of boards for you. The decking calculator will provide a no-obligation quote that you can email to yourself for reference later.
Choosing the right tools and safety equipment

Make sure your tools are up for the job before starting any DIY job. Check the conditions and sharpness of any bladed tools, so that your cuts are as clean as possible. Ensure your power tools have batteries that will last the duration of the installation, otherwise, you may find yourself stopping halfway through, which will delay the project.
PPE should include protective gloves when cutting and handling deck boards, as well as protective masks, ear defenders and eye protection. Knee pads will be useful when installing a decking frame or screwing boards to joists. At the end of the day, having all these in place before starting your project will speed up the installation time and reduce risk of injury.
Using a good quality wood drill bit to prevent deck screws from sheering is a must. A spirit level is a necessity for ensuring a flat surface. Pencil marks can be removed if needed from the surface of boards, where required and decking screws can be hidden by drilling underneath through solid bullnose into the joist to create a straight edge.
One resourceful way of creating a deck space is to reuse wooden pallets. Wooden pallets can make for the ideal, budget-friendly decking frame with the correct support. Strip the wooden planks from pallets to lay over joists, reducing the gaps between the slats to form patterns such as square, diagonal herringbone, or diagonal basket patterns, for example.
As with anything wooden left outdoors, wood preservatives or paint for timber decks is highly recommended to prevent them from rotting over the years.

Following step-by-step instructions and video tutorials
YouTube is likely to be the go-to place for seeing how deck boards have been installed. Be sure to watch videos of experienced contractors for the best advice. The Cladco YouTube Channel has a range of technical videos demonstrating how to install deck boards, whether you are working with Composite or PVC Boards.
Conclusion
With all the above taken into consideration, there should be nothing stopping you from starting your own deck project!