
While there are many professional carpenters and Deck fitters around who will build your Deck for you, something is satisfying about making your Deck by yourself.
Before you start building your outside living space, there are a few things you may need if you are planning on building a deck yourself which will help you get the job done.
This article will explain the different tools we recommend using to help you measure and cut your materials, as well as helping you fit your decking project. All the tools have been separated into different categories for the different needs of deck board tools. See all the categories and recommended decking tools below.

Article Contents
Deck Planning Tools
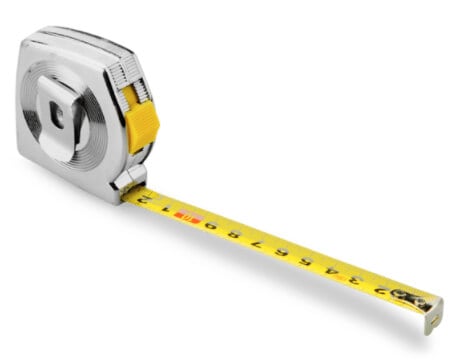
LONG TAPE MEASURE
One of the first things you will do before even purchasing your Decking Boards is measuring. When you're building a deck, planning out the size of your Deck is the first thing that should be done.
Having a measuring tape is one of the most fundamental tools that should be used throughout the project to measure the size of the Deck and each Board before it gets cut to length and installed.
Shop a long tape measure on Amazon here
CARPENTER'S LEVEL
When installing your Composite Decking, one of the most important things is to ensure the deck is level. A Decking tool that is recommended for multiple parts of the deck building process is a Carpenter's Level, otherwise known as a spirit level. You can use either a traditional level, with the liquid and the air bubble, or a digital one.
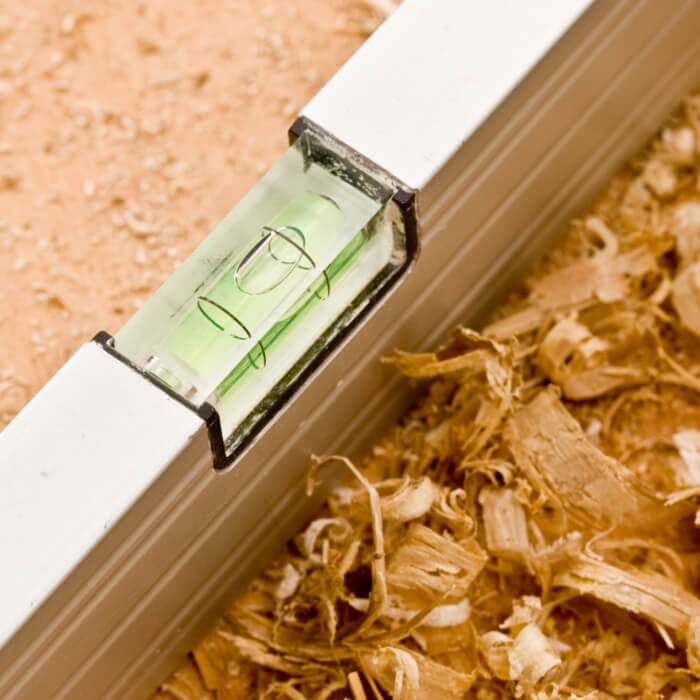
- The decking frame or substructure should be level, and if it is at an angle, your Boards may also end up at an angle.
- Make sure to measure your Decking from side to side, end to end and from one corner to the other to ensure it is level throughout the installation.
Shop the item here.
CHALK LINER
When building a deck, it is important to have all areas of the Decking level and inline. A chalk liner is a handy tool used by builders, craftsmen and DIYers to mark outlines, like a square or rectangular Deck, on a relatively flat surface for projects. Marking from one post to the far post for the frame. While some fitters mark the line using string, the string tends to move out of line or shift, whereas this does not.
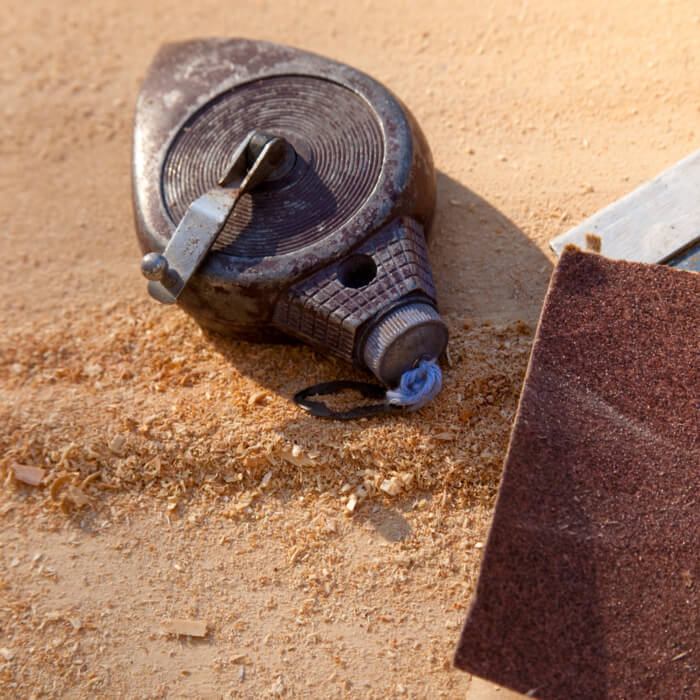
Chalk liners are the fastest way to draw lines between two spots.
Some tips for using them:
- Make sure you use the correct chalk when marking your lines, Red chalk, for example, does not come off easily and is great for marking out permanent lines.
- Be sure to mark your line on an object or surface which will be visible throughout your installation to be used as a guide.
If you do not have a chalk liner, you can purchase one here.
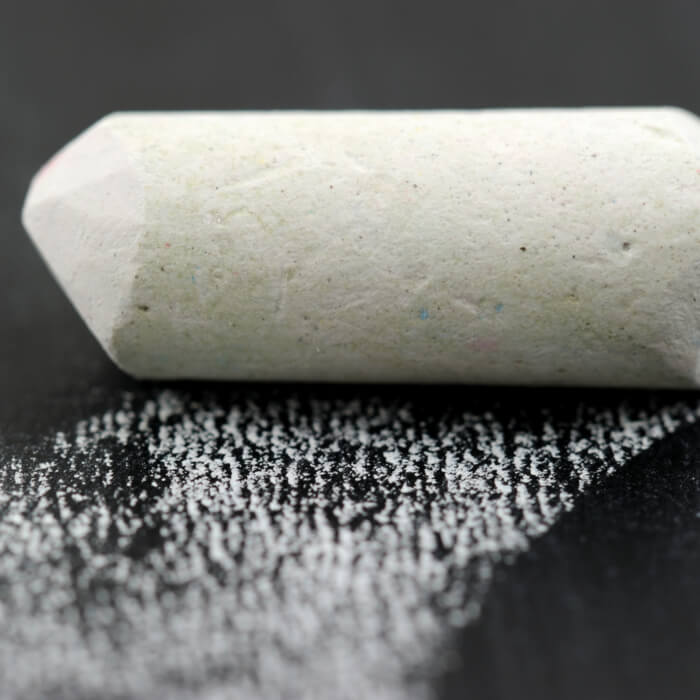
MARKING TOOLS
When you are deck building, never eyeball the length of something to get the job done—taking your time, marking out and measuring the wood you may need for your decking construction.
Almost anything can be used as a marking tool. Chalk, pencil, or masking tape can all be used to help you mark where your need to nail, cut, or install.
Some tips for Marking Tools:
- Use your marking tools when cutting your Decking Boards to length or figuring out the distance for nail fitting.
- Stay away from any permanent markers, as not only will this stain your materials, but they also aren't as visible as masking tape or light coloured chalk.
If you do not have any marking chalk, you can purchase them here.
Deck Building Tools
CIRCULAR SAW
Whether you are fitting traditional wood decking or installing Composite or PVC Decking Boards, you will never be able to install an entire Deck without having to cut some Decking Boards to length.

A circular saw is a fantastic power tool to have as a deck saw and will come in handy for various projects. The sharp blade saw should be able to cut its way through high-quality, Wood, Composite, and PVC Decking Boards as well as joist, posts, and structural framing you decide to use.
Some tips for circular saws:
- Circular Saws can cut both straight and angled cuts for all your Decking needs
- Practise your cuts first on a scrap piece of Board to ensure your saw blade is sharp enough for the material.
If you don't currently have a circular, saw, otherwise known as a miter saw, shop a variety of them here.
HAND SAW
While a circular saw is the recommended Deckbuilding saw, thanks to its ease of use and power, hand saws are also fantastic deck building tools to have when installing your decking area.

Hand saws are often used for smaller tasks. However, they can be used to help you install your entire Decking project if you are determined, although hand saws are better for doing straight cuts as opposed to angled.
Some tips for hand saws:
- Hand saws are an ideal tool to use if you want to cut corner trims to size.
- Make sure your blade is sharpened for a clean and straight cut.
If you don't currently have a hand saw, shop a variety of them here.
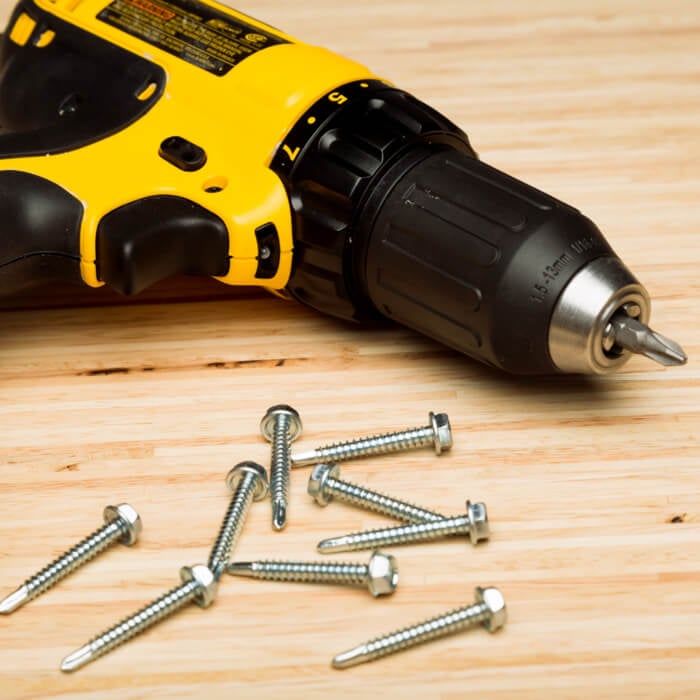
POWER DRILL
Another set of great deck building tools comes in the form of a power drill. As with any DIY job, you will need to drill holes and fit nails and fasteners.
There are a few different types of Power tools recommended to include within your decking tools, including:
- Mixing Drill - This Drill is a heavy-duty tool with increased torque and is great for mixing your concrete for your Decking posts and footing. A mixing drill also helps prevent any air bubbles from entering the concrete.
- Cordless Power Drill - a cordless drill can pre-drill holes or fasten and install nails and screws.
Power Drills are ideal for smaller jobs such as fastening bolts and hanging photos on your wall, as well as heavier jobs such as installing your Decking. Power Drills should save you time when fitting your Decking Boards, Joists, and framing, helping you drill a hole for your nails etc.
If you don't have a power drill, see here for a range.
HARDWARE
Hardware such as fasteners, screws, starter clips, joist hangers, nuts, and bolts, you won't get very far building your Deck without these vital materials.

Tops Tips when purchasing hardware:
- Ensure that the screws, nails, and framing you are purchasing are compatible with your chosen Decking Boards.
- High-quality - ensure to purchase high-quality nailer, nails, and screws.
Shop your hardware here.
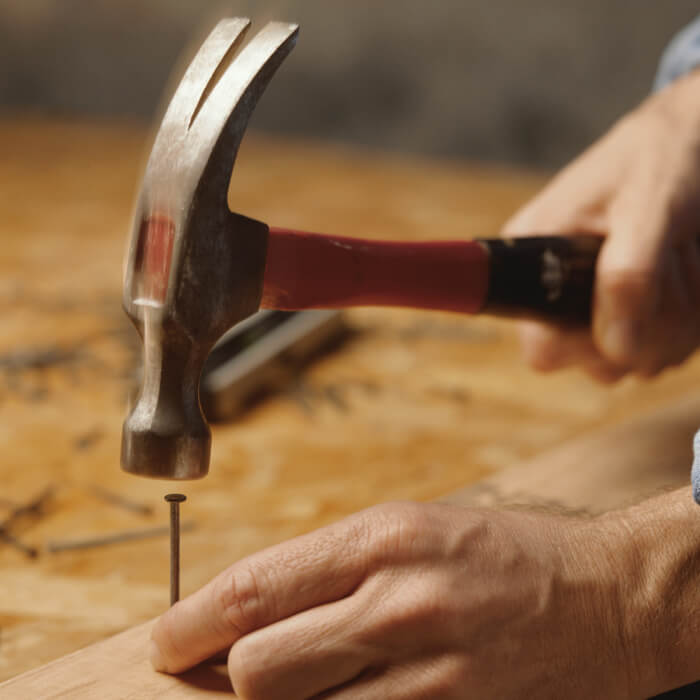
FRAMING HAMMER
A framing hammer with its textured head is better designed to hammer in nails and screws. While a framing hammer is a great tool to have in your tool kit, thanks to its heavy head, it is able to drive the fastening deep into the other hammers also come in helpful such as:
- A Finishing Hammer - has a smooth face and should not mark or damage the surface of your boards, and is the hammer that is best suited to installing nails that will be visible on the side of your Decking.
- A rubberwood mallet - this can be used to help align your joists, posts, and boards, ensuring they are fitted and in place correctly.
Shop hammers here
(OPTIONAL) NAIL GUN WITH AIR COMPRESSOR
This optional piece of equipment is a handheld tool that installs your nail into your Decking installation, firing the nail using force and compressed air, helping it to embed into the material.
A Nail Gun with Air Compressor helps save time when going through the process of fixing together some of the following:
- Boards
- clamps
- Brackets
- Steps

Shop the item here
Deck Finishing Tools
ORBITAL SANDER
If your construction uses wood decking boards, you may need to sand the boards before treating them. Sanding the boards before adding treatment, varnish or stain removes and loses wood fibres and allows the product to absorb into the wood.

Benefits of using an orbital sander:
- Less labour intensive
- It can be used annually for the treatment of the Deck.
- It is powered and reliable
Shop orbital sanders here
BELT SANDER
A belt sander, otherwise known as a strip sander, is used by carpenters or other woodworkers to help shape and finish wood materials.

- It can be used on your Decking, your steps or any decking posts you've used on your site. Belt sanders are often used for Sanding down incredibly rough surfaces.
- Compared to orbital sanders, belt sanders are the premium options for large Decks, however, orbitals are good to be used on smaller square Decks, and furniture.
Shop Belt sanders here.
SANDPAPER
If you don't have a power sander, as above for your Deck Boards, using sandpaper is recommended. Cut the sandpaper into a square and place it in the palm of your hand then using, you can sand your Decking Boards without a powered sanding tool.

Sandpaper is a cost-effective yet labour intensive substitute for the above options
- First, gently sand your Deck using 60-80grit paper
- Once you have done the first, switch to 100 grit paper to ensure all fibres, paint, and varnish are sanded off
Purchase your sandpaper here.
Conclusion
When working on the construction of any Decking project, any size or shape, it is important to know what tools you need to use for it and why.
Suppose you are interested in fitting a new Decking area to your home. In that case, Cladco offers a range of timber alternative Decking Boards in various colours with added beneficial properties.
Or receive a quote using our Cladco Decking Calculator or by contacting a member of our sales team on 01837 659901
