

Summary
Is your timber decking looking a little weathered, or past its prime? When it comes to wood decking, timber comes with a number of great benefits, such as being friendly to the environment and having a natural wood grain. But, to continue to enjoy your decking throughout the year, regular maintenance is one thing you're going to have to face, otherwise replacing boards can become expensive and labour intensive.
You are going to want to apply stain products before your wood deck becomes too weathered and the first sign of wear and tear begins. We take you through the process in our step-by-step guide to performing a thoroughly deep clean, scrub, and paint removal before you can protect a wood deck with a stain product. From the right tools for the job to the cleaning and removal of mildew on a board with a brush and roller, you'll be enjoying your revived deck before you know it.

Article Contents
- Recommended Tools & Materials
- Inspecting Your Deck Before Staining
- Step 1: Pick the Right Time for the Job
- Step 2: Examine The Deck's Condition & Test the Stain
- Step 3: How to Sweep & Clear Your Deck Before Staining
- Step 4: How to Clean Your Deck Before Staining
- Step 5: How to Rinse or Pressure Wash Your Deck
- Step 6: How to Sand Your Deck Before Staining
- Step 7: Stain Your Deck
RECOMMENDED TOOLS & MATERIALS
Make sure you have the right tools before starting the stain process. If you're applying deck stain products to new wood then sanding equipment won't be required and you can move on to the washing and stain steps. If the wood is old and you're looking to remove paint and grime, then a powerful jet sprayer and electric sander will be required. Here's a list of what you'll need:
- Tough bristle broom - Essential
- Brush - Essential
- Pot of stainer - Essential
- Decking cleaner - Recommended
- Pressure washer - Recommended
- Electric sander - Recommended
- Wellies - Recommended
- Dry weather - Essential
INSPECTING YOUR DECK BEFORE STAINING
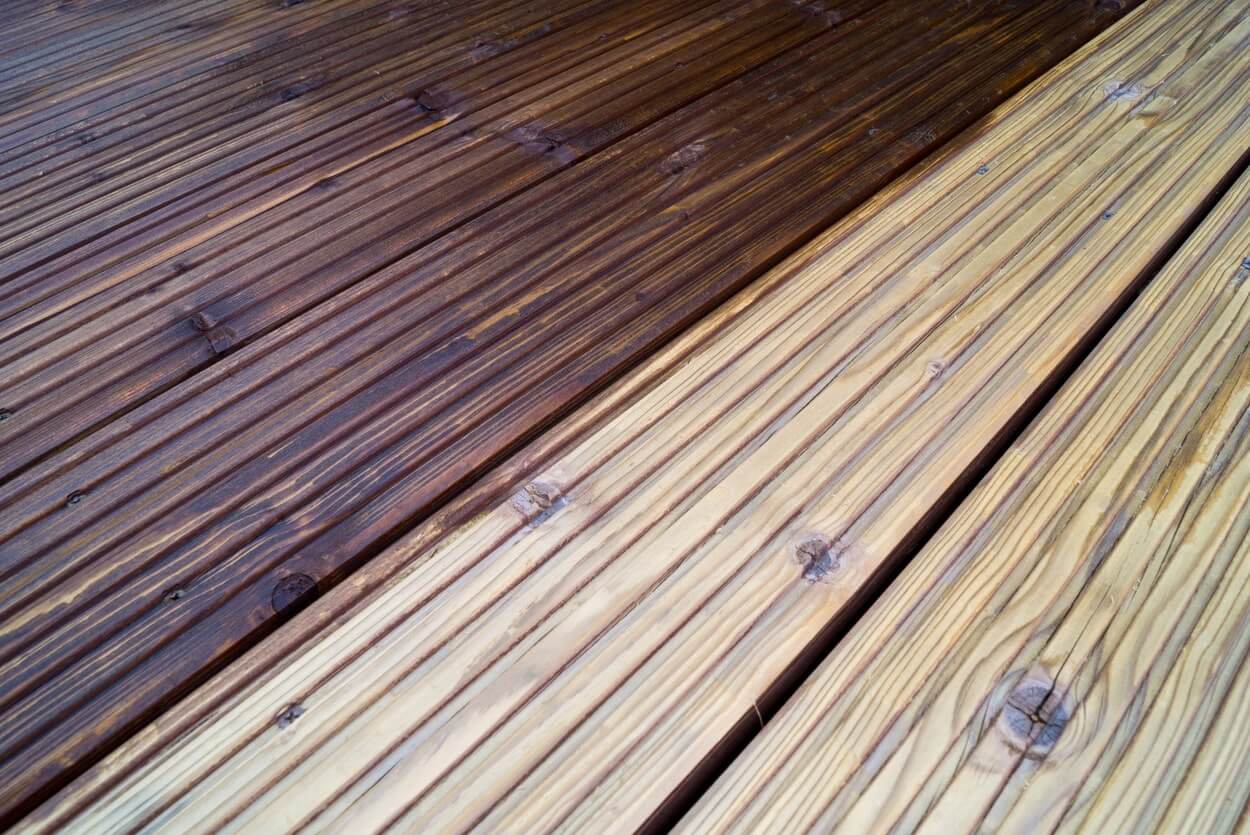
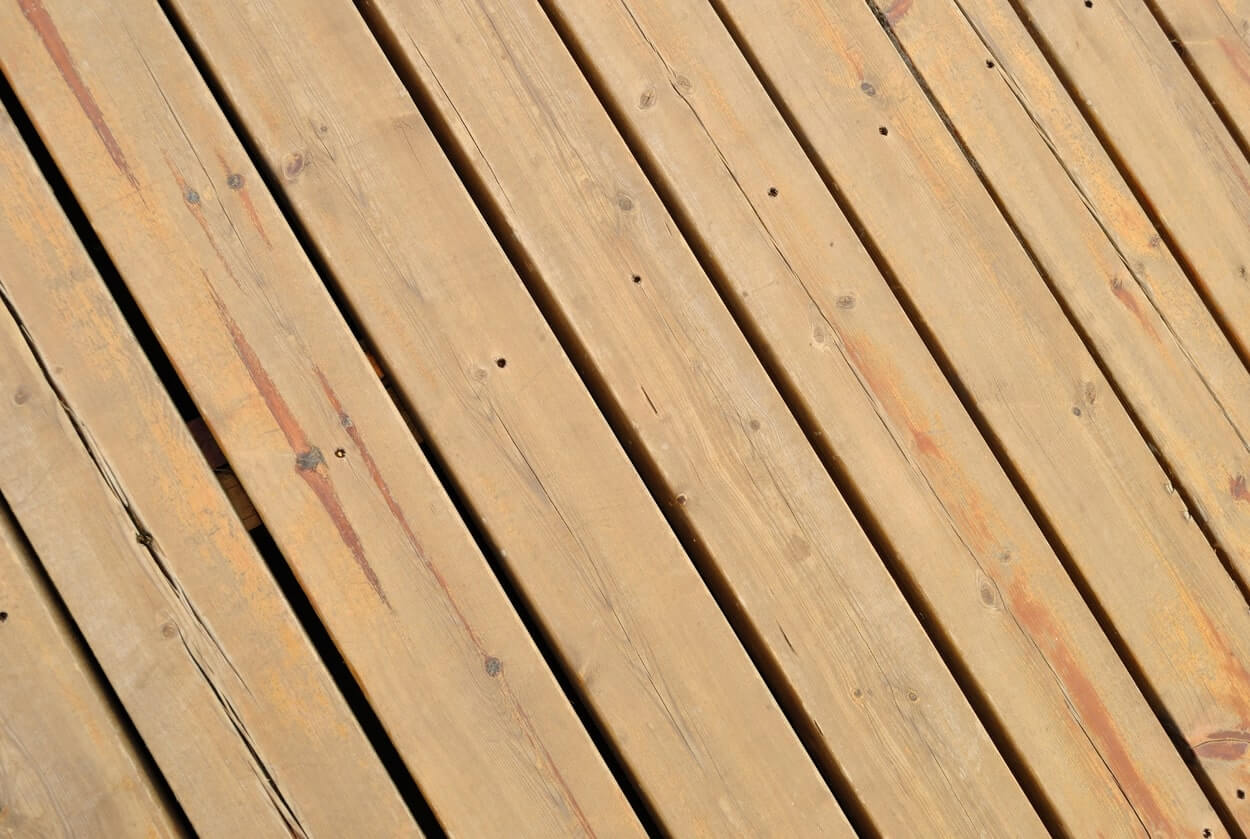
Start by assessing the wood fibres across the entire deck area. Replace any damaged boards showing splits or cracks around screws or along the grain. If the boards are weathered and aged, then a darker stain product is recommended to hide tonal mismatch. In preparation before any stain product can be applied, look for mildew build-up, stains, marks, or boards with paint on them. You will either need to sweep them, or scrubbing and using cleaners to remove marks on the decks.
Work out approximately how much stainer you'll need to cover the size of your decking area to avoid stopping halfway through. The total number of coats per pot of stainer should be shown on the packaging, along with how many square metres of the deck the cleaner will cover so you don't fall short of stain product.
STEP 1: PICK THE RIGHT TIME FOR THE JOB
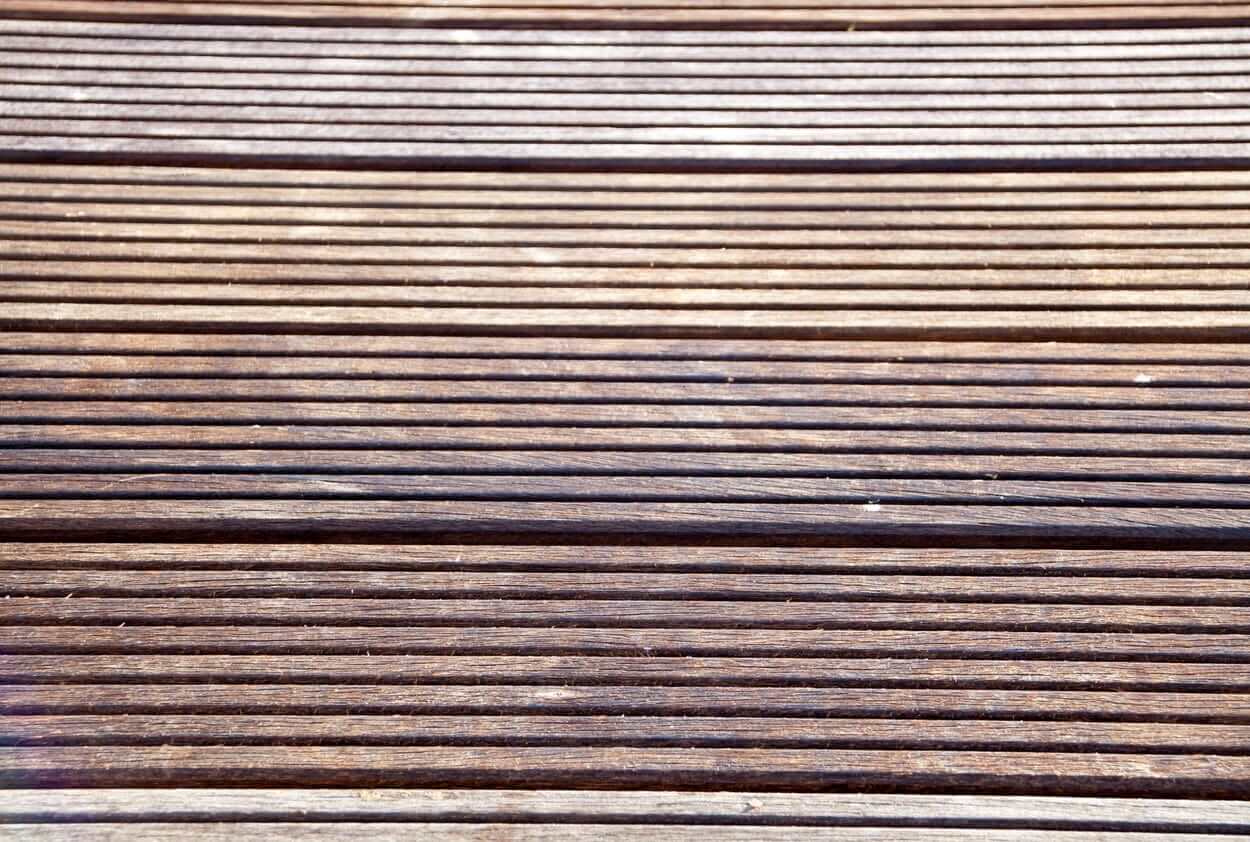
Stain products are best applied onto a dry deck, so waiting for the sun to come out for a few days is essential before starting the project. Look at the weather forecast, as you'll need to wait for at least two dry days in a row. If your deck requires cleaning and sanding before staining, factor in enough time to wait for your deck to dry. Watch for the first sign of stains or mildew appearing on the wood, and look for splits around screws to determine whether or not any boards will need replacing.

STEP 2: EXAMINE THE DECK'S CONDITION & TEST THE STAIN
To make sure you'll be happy with the final look of your stained deck, choose a small, discreet area of your deck to test the stainer on. Weather permitting, allow this test area to dry properly for a day before continuing with the whole decking area. If the wood is fairly new still, then the deck will benefit from a light stainer.
It is also important that the timber decking is in a good condition. You'll want to make sure that the decking is rot-free and not cracked. Any cracks will mean water is more likely to soak into the deck's surface and increase the chance of rot setting in. Replace any damaged boards before continuing.
STEP 3: HOW TO SWEEP & CLEAR YOUR DECK BEFORE STAINING
Ensure there are no loose leaves or debris on the surface of your deck before applying the stainer. This will make sure the finished look is smooth and there are no bumps on the surface of the deck. First, remove any items such as plants or furniture from your decking and set them aside undercover or indoors. Then, use a stiff broom to brush away debris or leaves away, as well as soil or dirt off to one side of your deck.
Keep a broom handy, as it'll be useful later on if you're using a pressure washer, to brush away excess water on the deck. If you're sanding your deck as well, then a stiff brush will need also to brush away the dust and any debris created from this.
STEP 4: HOW TO CLEAN YOUR DECK BEFORE STAINING
We recommend cleaning your Decking Boards before staining. You want to avoid applying stainer over any dirty marks as this can appear darker once stained and stand out against natural wood grain. Work out how to clean the deck before staining with the recommended cleaning product and follow the manufacturer's directions. Use a cleaner such as Owatrol Composite Cleaner for use with Cladco Composite Decking Boards and scrub away any grit, to begin with. For loose dirt, simply rinse with warm soapy water. A garden hose will also do the job, to gently wash away surface dirt. Allow the deck to completely dry before applying the stainer.
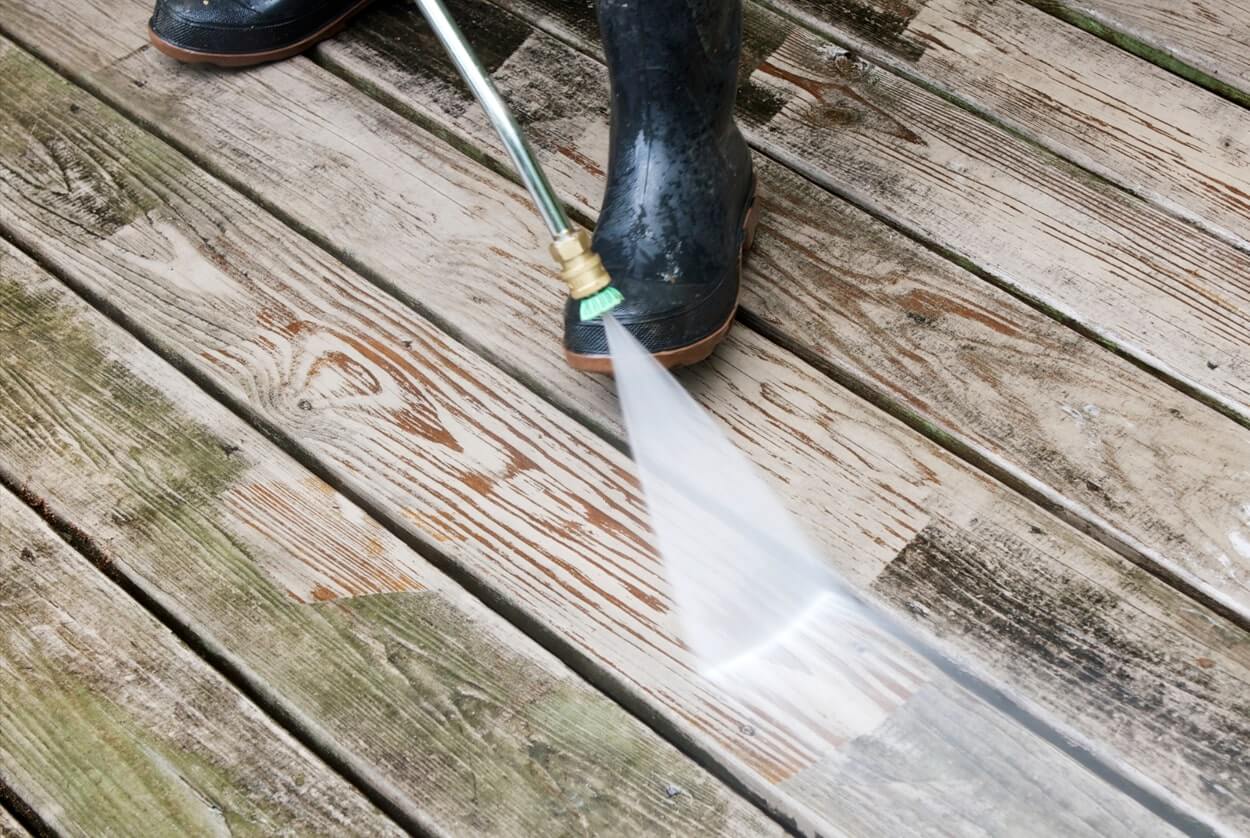
STEP 5: HOW TO RINSE OR PRESSURE WASH YOUR DECK
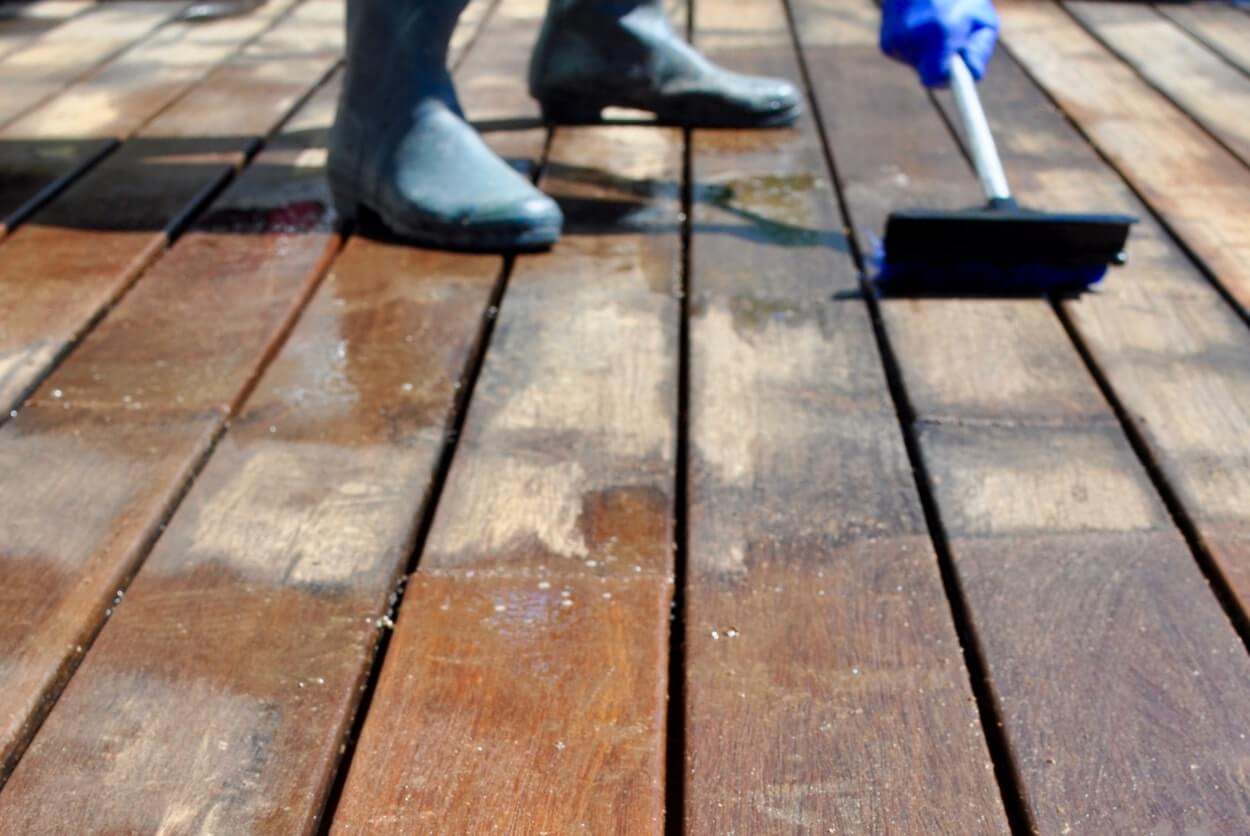
If your decking boards have heavy levels of dirt and grime, using a pressure washer can create the best results when cleaning your entire deck. We recommend reading our How to Pressure Wash your Decking blog for a closer look at the cleaning process with a pressure washer. It's important to choose the correct tip and power setting, with the right cleaner, in order to create the best surface possible and to prepare your decking for staining. A common mistake people make is to move the sprayer in uneven directions and too close for long periods at a time.
We recommend you wear wellies and waterproof clothing during the washing process. Be sure to allow your decking to dry properly in the sun before applying stain products. Now might be a good time to clean any railings or steps and paving slabs you might have as well.
STEP 6: HOW TO SAND YOUR DECK BEFORE STAINING
Sand your decking boards will allow for the stain product to soak into the wood more effectively and create a longer-lasting, protected surface. We recommend using an electric sander with fine sandpaper for a gradual removal of the existing stainer, paint, or varnish. Once the deck's surface has been thoroughly sanded, dust build-up will need to be brushed away.
An additional rinse of the deck boards with a garden hose may be needed to complete the preparation. The new wood surface is now ready for a few coats of stain to be absorbed.
STEP 7: STAIN YOUR DECK
For older decking boards it is recommended to use a darker stainer to hide any colour mismatch or tonal variations in the wood. For the best way to apply the solution to your deck boards, use a roller and move in the direction of the wood fibers. To cover the boards evenly, apply a coat over each board without getting them too wet with a stain solution. If you're using a roller to apply the stain, keep a thick bristle brush handy to back brush the stain deeper into the wood grooves. This allows the stain to be absorbed more deeply into the surfaces of the wood and essential lasting longer and protecting it from UV damage and weathering.
Allow the deck at least 24 hours to dry and cure before you replace any garden furniture or plants back onto the deck. One coat is usually all that's required to complete your project (always be sure to follow the manufacturer's directions, as this could vary).

CONCLUSION:
Staining your deck may be a labour intensive process but it can really pay off in the long run. Looking after your timber deck boards will allow you to keep enjoying them for many years, with quality wood that will increase its life span and protect its natural wood appearance.
By following each step above, you can apply cleaners and stainers to your decking with little fuss. While you are at it, you can improve the appearance of your decking and any railings you may have with basic cleaning equipment. The important thing during this job is to wait for a gap in the wet weather before starting the project. A common mistake made is to apply a stainer in the rain which thins down the product and reduces its effectiveness.
